


Slider is used to show your images by moving slides automatically or by responding to a click or swipe. In Fit Funnels, you can add a slider to your landing page with JavaScript and HTML codes. You can always add multiple sliders at once.
Add JavaScript code
1. Log in to your Fit Funnels account and go to the Dashboard of your landing page.
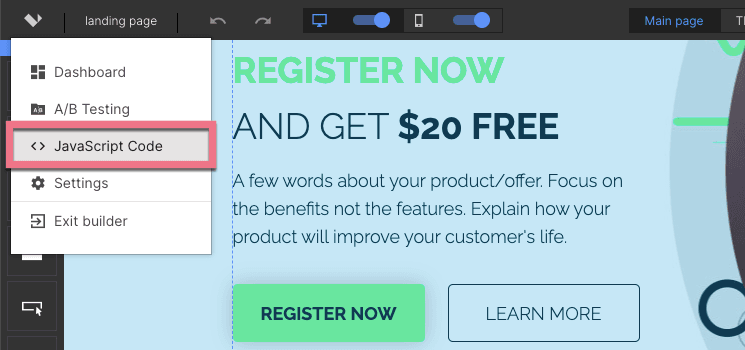
2. Navigate to the JavaScript Code tab and click Add script.

You can also access the JavaScript Code section directly from the editor of your landing page.
3. Add Name and in the Content field paste the code indicated below. Choose the Body bottom position on the Main page.
<script src="https://scripts.assets-landingi.com/customer-success/Lean_slider/lean-slider.js"></script>
<link rel="stylesheet" href="https://scripts.assets-landingi.com/customer-success/Lean_slider/lean-slider.css" type="text/css"/>
<link rel="stylesheet" href="https://scripts.assets-landingi.com/customer-success/Lean_slider/multiple-sample-styles.css" type="text/css"/>
<script type="text/javascript">  $(document).ready(function() {      var slider = $('#slider1').leanSlider({          directionNav: '#direction-nav1',          controlNav: '#control-nav1'      });  });
</script>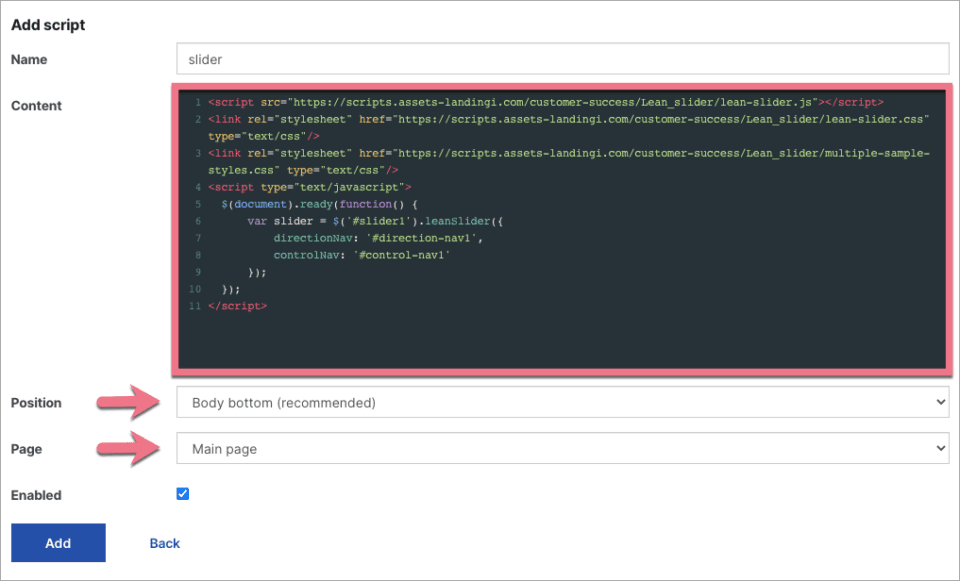
4. Click on Add to save changes.
Add HTML code
1. Navigate to the editor of your landing page.
2. On the left side of the editor, find the HTML widget, then drag and drop it into the active area of your landing page.
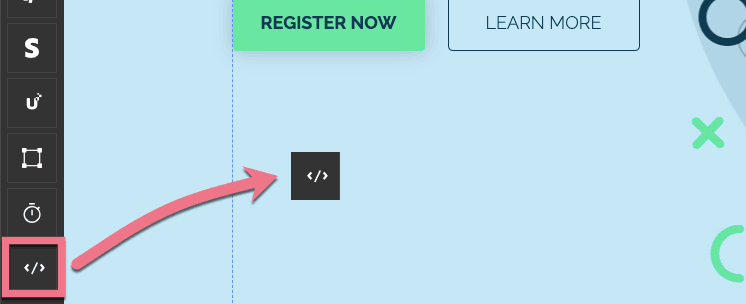
3. Double click to edit the widget.
4. Paste the HTML code:
<div class="slider-wrapper">  <div id="slider1">
    <div>      <img src="https://location/img/pictureA.jpg" alt="" />
    </div>
    <div>      <img src="https://location/img/pictureB.jpg" alt="" />
    </div>
    <div>      <img src="https://location/img/pictureC.jpg" alt="" />
    </div>  </div>  <div class="slider-direction-nav" id="direction-nav1"></div>  <div class="slider-control-nav" id="control-nav1"></div>
</div>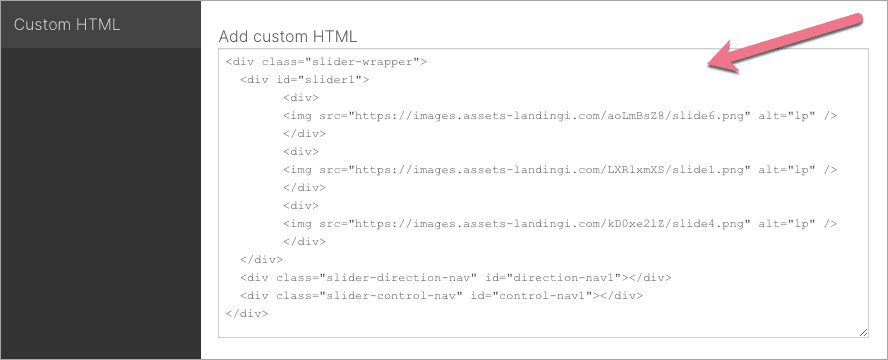
5. The number of div elements depends on how many images your slider should have since each div should contain a link to one image file.
Every div part is responsible for one image. Repeat the part as many times, as there are images in one slider:
<div>      <img src="https://location/img/picture.jpg" alt="" />
    </div>
Edit every part, changing the link to the link of your image.
It is a good practice to add the alt parameter – it is a text that is displayed if for some reason the user’s browser does not read the image from the slider. Include a word or words here that clearly describe what the image contains. Proper use of the alt parameters has a positive impact on the positioning of the page.
6. Save and close. Publish your landing page.
7. Check if the slider displays correctly. If needed, go back to the editor and adjust the widget size.
TIP: The slider looks best when images have the same dimensions.
Use images uploaded to the editor
If you want to use images already uploaded to your editor in Fit Funnels, you can get links to them easily.
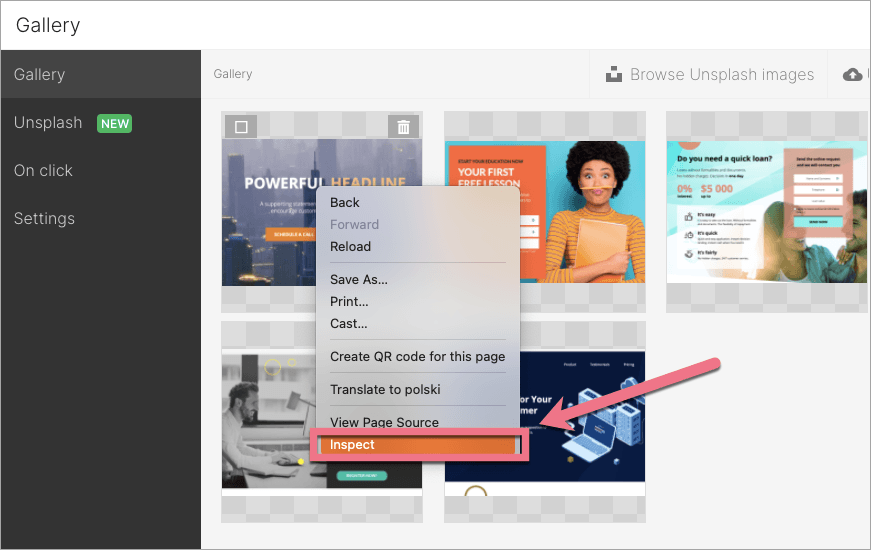
1. Navigate to the editor of your landing page and open your Gallery through the Image widget.
2. Right-click on your image and select Inspect.
3. Developer tools will open. Copy the link to the file location.
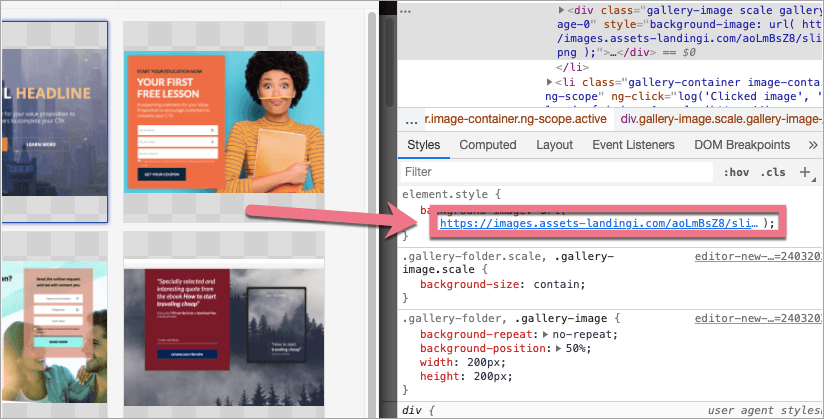
4. Go back to the HTML edition. Paste the link in its place in the code. Repeat as many times, as needed.
Additional parameters
By default, the slider automatically switches images at low intervals of time and does not require any additional settings. However, you can use some extra parameters to change how the slider works.
These parameters should be added in the JavaScript code, within the function responsible for launching the slide:
<script type="text/javascript"> $(document).ready(function() { var slider = $('#slider1').leanSlider({ directionNav: '#direction-nav1', controlNav: '#control-nav1' });All parameters should be separated by commas. There is no need to place them vertically (one below the other), however, it makes the code easier to analyze.
- pauseTime: '1000' – it sets the time before the slide switches. Time is given in milliseconds, so 1000 is equivalent to 1 second;
- pauseOnHover: 'true' – ‘true’ stops the slide, when you hover over it, allowing you to get a glimpse of its elements. Moving the cursor outside of the slide area resumes the slideshow;
- startSlide: '0' – it sets which slide will be displayed first. By default, the first slide is the first div, but you can change this order here. Remember that 0 means the first slide, so 1 is the second slide, and so on.
As a result, the code may be as follows:
<script type="text/javascript"> $(document).ready(function() { var slider = $('#slider1').leanSlider({ directionNav: '#direction-nav1', controlNav: '#control-nav1', pauseTime: '1500', ==pauseOnHover: 'true' });
After changes, publish your landing page and check if the slider displays correctly.