


Widgets
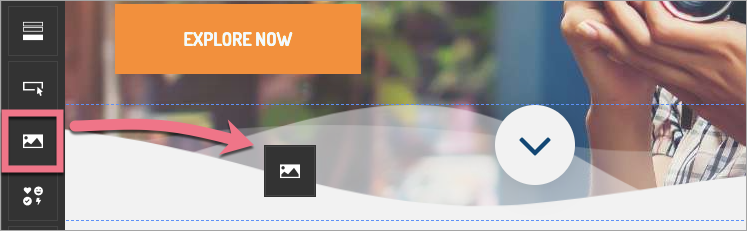
Your landing page consists of widgets. They are gathered in the left-side panel. To use them, click on the widget, drag it to the active area of your landing page and drop it in the desired place. Every widget is fully editable.
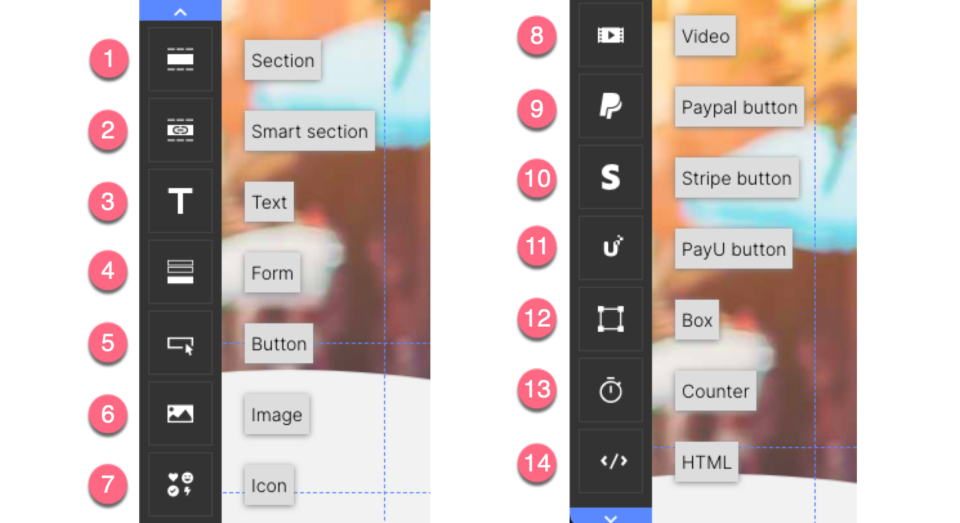
Widgets in Fit Funnels editor:
- Section
- Smart section
- Text
- Form
- Button
- Image
- Icon
- Video
- PayPal button
- Stripe button
- PayU button
- Box
- Counter
- HTML
Widget options
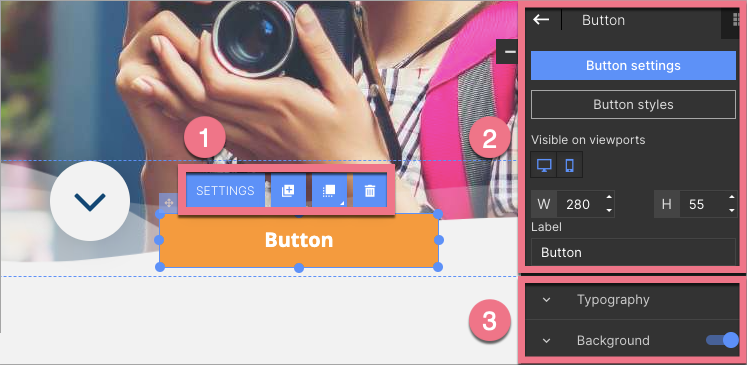
To edit a widget, click on the element and navigate to the edition through the context menu (1) or the right-side toolbar (2).
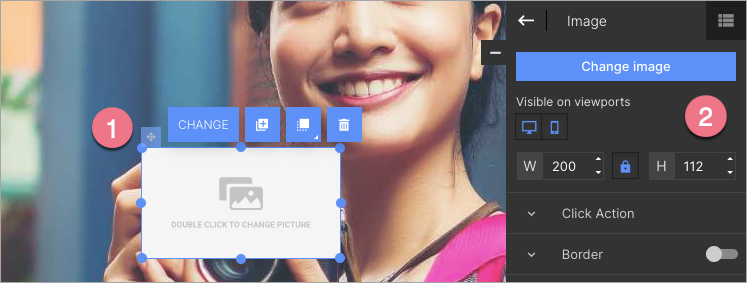
For every widget, options available in the context menu and the toolbar are similar.
Context menu (1) consists of the following options: Settings/Change/Edit, Duplicate, Change layer, and Remove.
Widget toolbar is divided into two parts: (2) basic options, i.a. Settings, Visibility, Size, and more detailed editing (3), e.g., Text, Background, Shadow, Corners, Classes, Tags.
Top bar
With the upper bar in Fit Funnels editor, you can manage your workflow.

- Leave the editor – navigate directly to Dashboard, A/B Testing, JavaScript Codes, Account settings, or go to the platform
- Landing page name
- Undo/Redo
- Desktop view and Mobile view – change the view to adjust your page to devices or turn off one of the views
- Main page editor
- Thank You Page editor (conversion page)
- Page history – go to autosaved versions of your landing page. Here, you can also restore one of the previous versions
- Preview – check how your landing page will be displayed (without saving the changes)
- Save – save changes manually
- Publish – publish your landing page (with saving the changes)
- Help – options: Keyboard Shortcuts, Help Center, Support Ticket, 1:1 Consultations, Video Tutorial, Case Studies, System Status

Thank You Page
Editing your Thank You Page looks very similar to editing the main page. You can use the same widgets, except the Form.
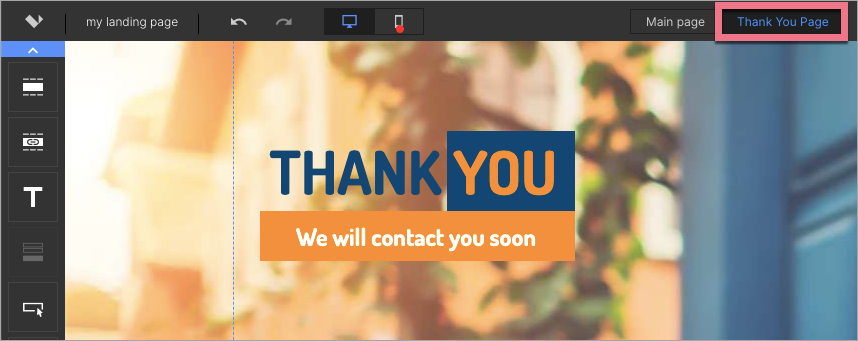 IMPORTANT: Remember that when you click Publish, you publish both the main page and the thank you page.
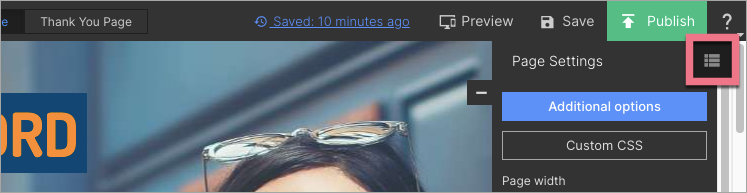
Elements
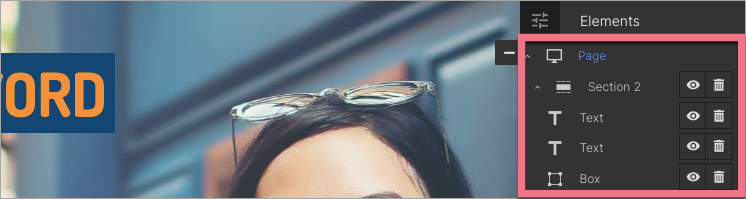
In the Elements tab, in the upper right corner, you can find the list of all your landing page elements (widgets).
 In this place, you can manage the visibility of elements (eye icon) or delete them (bin icon).
Layers
In Fit Funnels editor, landing page elements are arranged on layers. By default, a new element is added to a higher layer.
Change layer
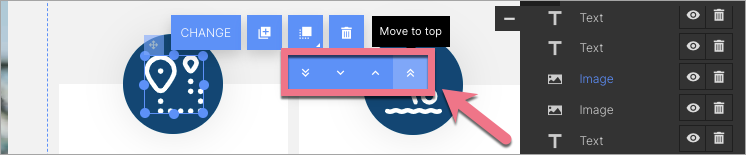
If your new element overlies a previous one, you can manage them in the Elements list. Click on the element to see where it's hidden.
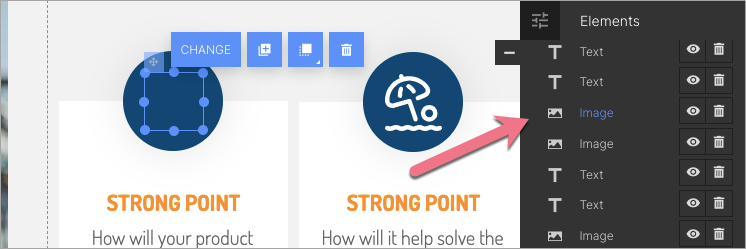
To change its layer, click on the element on the list, and in the context menu (above the widget), choose Change layer.
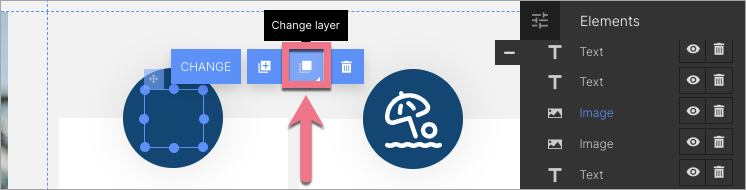
You have four options: Move to bottom, Move down, Move up, Move to top. Choose Move to top to see the element above others.
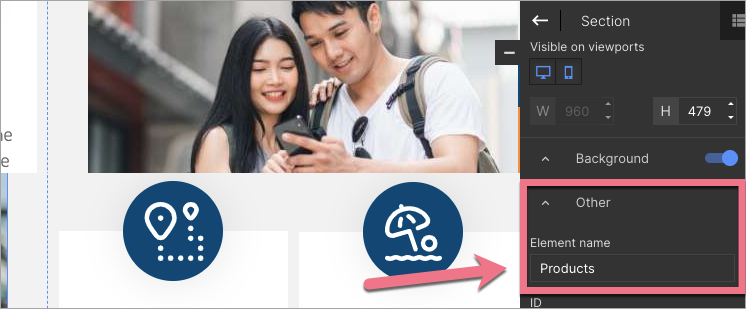
Change section name
To ease your work with landing page elements, change your sections names. By default, every section is named with a consecutive number. To change it, double-click on the section in the Elements list.

Section edition panel will open. Find the Other tab and change the Element name.
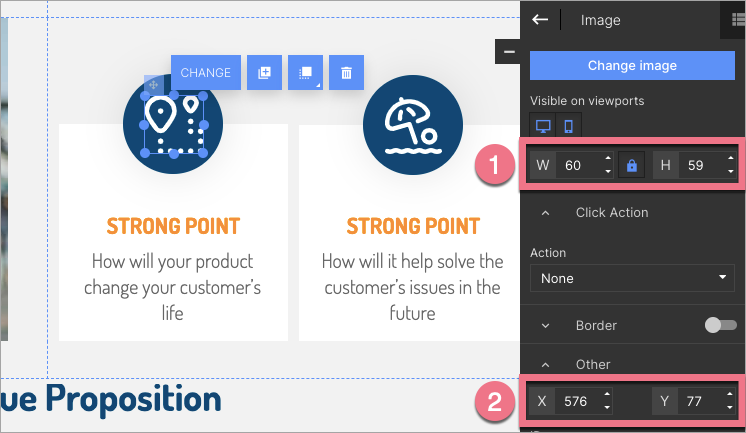
Change element placement
In an element edition panel on the right side, you can also manage its size and position accurate to within one pixel.
(1) Change Width and Height.
(2) Change position on X and Y axes.
After all the changes, do not forget to save or publish your landing page.