


Lightboxes appear like a popup window. They display images, videos, or other elements by filling the screen and dimming out the rest of your landing page. To add a lightbox to your landing page, follow the steps below.
Lightboxes are not available in the Create plan.
Create a lightbox
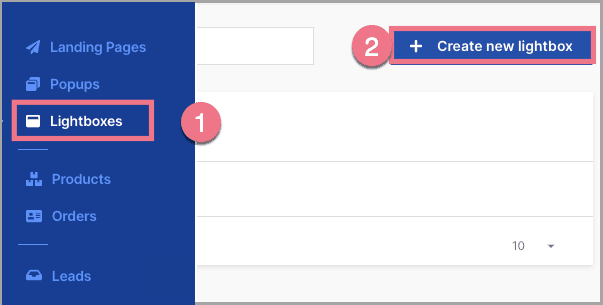
1. Log into the platform. Go to the Lightboxes tab (1) and click on Create new lightbox (2).
2. Give your lightbox a name and click on Start editing.
3. Lightboxes are edited in the same way as landing pages.
4. You can choose from 9 widgets (1) that you can put on your lightbox. The editor of lightboxes does not have a section widget. Use the arrows (2) if you want to undo the editing. Just like the landing page, the lightbox has a desktop (3) and mobile view (4). The mobile view is automatically created based on the desktop view, but this does not work in the other way. We recommend starting with the desktop view and then adjust the mobile view.

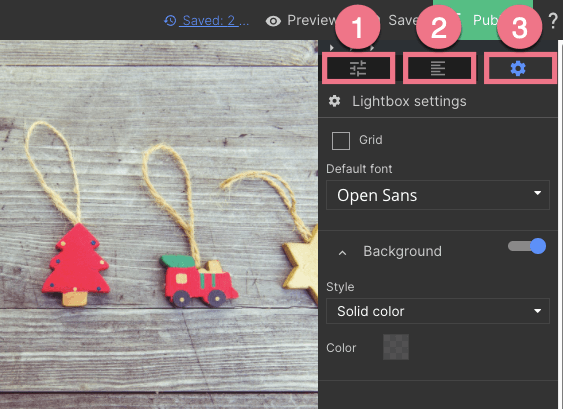
5. On the right side of the editor, you will find a toolbar with settings of added widgets (1), a list of elements (2), and lightbox settings (3).
6. When you are ready, publish the lightbox (1) and leave the editor (2).

Add a lightbox to a landing page
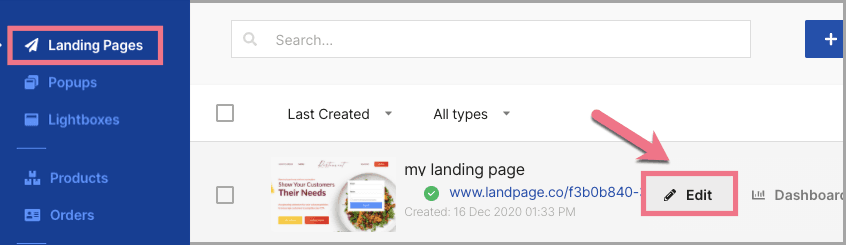
1. Go to the Landing pages tab and open the editor of the landing page that you want to place the lightbox on.
2. Add an element (from the left sidebar with the widgets) that will trigger the lightbox when you click on it (such as the button) and go into the settings.
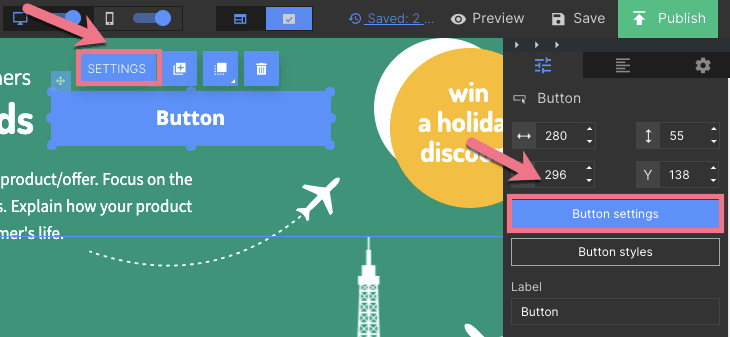
IMPORTANT: An element triggering the lightbox can not be animated
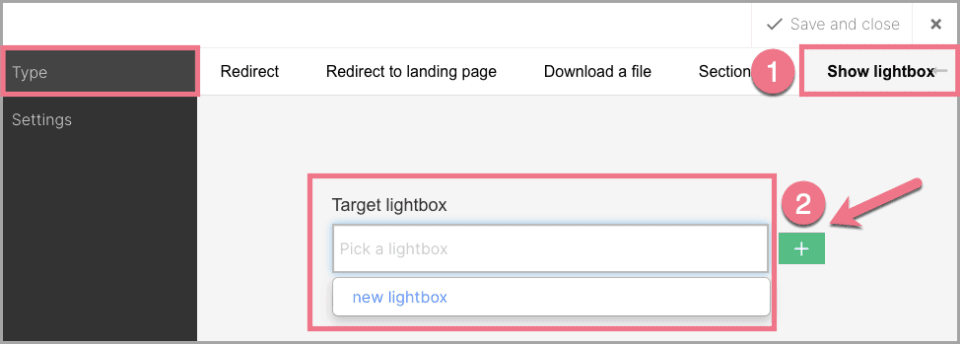
3. Go to Show lightbox (1). Then select the lightbox from the drop-down list. You can also create a new lightbox by clicking on + (2).
4. Publish your landing page and check if the lightbox is displayed correctly.