


Conversion API from Facebook is a business tool used to track and analyze customer actions on your landing page. You can use it along with the Facebook Pixel. You need a business Facebook account to use Conversion API.
Get your Conversion API
1. Go to Events Manager.
2. Click Connect Data Sources.

3. Select Web and Get Started.
![]()
4. Select Conversion API and click Connect.

5. Add your Pixel Name. You can also enter your website URL to check for easy setup options. Click Continue.

6. You'll find your new API in the Data Sources tab. Next, you have to add integration in Zapier.

Add an event in Zapier
1. Log in to your Zapier account.
2. Go to the Make a Zap tab.

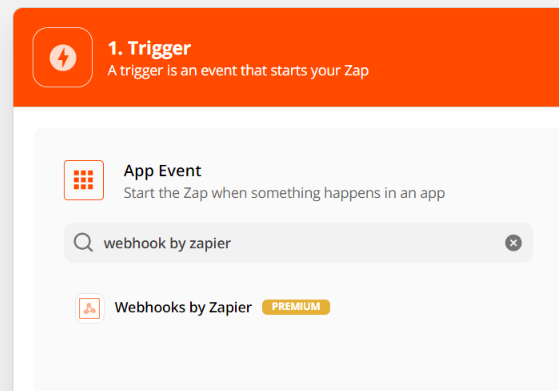
3. In the first step, define the trigger. Search for Webhooks by Zapier and add it.
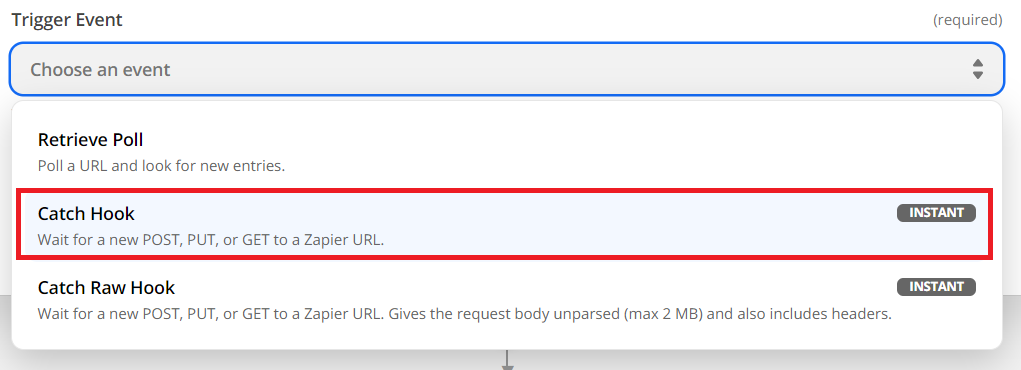
4. Select Catch Hook from the trigger event drop-down menu and click Continue.
5. Copy the Webhook Url and Paste the code and click continue.
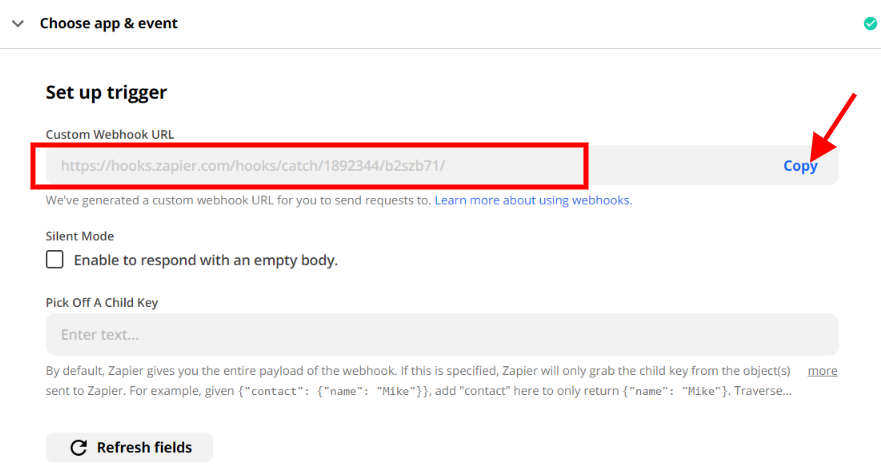
6. Paste the webhook URL to your Fit Funnel Lightbox.
7. Go Back to Zapier Test the integration by clicking Test Trigger.
8. Now, you can define the details of your event. Search for Facebook Conversions and select the event from the drop-down menu.

9. Click on Sign in and log in to your private Facebook account, for which you have assigned a business account and activated the Conversion API. Once you have successfully logged in, click on Continue.
10. In the Set up action section, choose Website as Action Source, select a business account, and the pixel.

11. Next, specify the details of Event Info, Customer Information, and Custom Data that will be sent together with the event action. The fields must match the fields of the form on your landing page.
Paste your landing age URL as Event Source URL.

12. In the next field, Test Event Code, paste the event test key from Facebook. Go back to Events Manager, navigate to the Data Sources tab, find your pixel and click on Test Events. Copy the key and paste it in Zapier.

13. If you want to track a purchase event, fill out the fields Custom Data > Additional Data. Click on custom parameters to see the most common values.

14. After you've entered all the data, click on Continue. Now, test the integration by clicking Test & Review. If the test was successful, go back to Events Manager again and verify whether the lead was received in the Test Events tab.

15. Finally, you can launch your Zap. Go back to Zapier and delete the Facebook event test key.

Click on Turn on Zap. All done! Your leads will be tracked using the Conversion API by Facebook.