


The counter counts down the time remaining until the end of an offer or other event on your landing page. This guide will show you how to apply the counter easily.
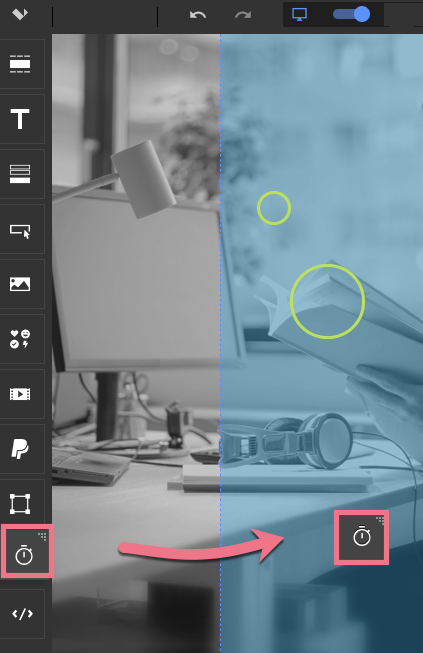
1. On the left side of the editor, find the Counter widget, then drag and drop it into the active area of your landing page.
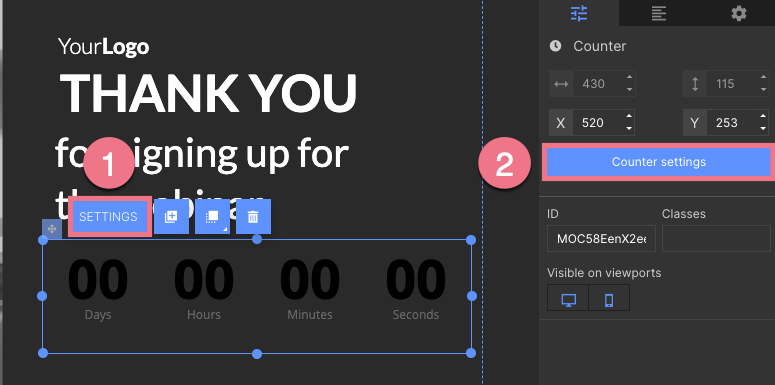
2. Click on the counter to start editing. You will see its context menu (1) and toolbar on the right side of the editor (2). Go to Settings (1) or (2).
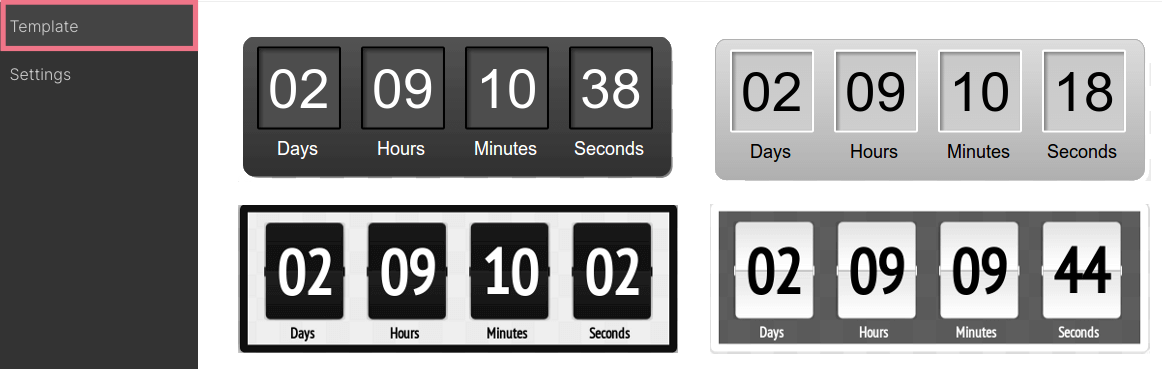
3. Counter templates are available in the Templates tab.
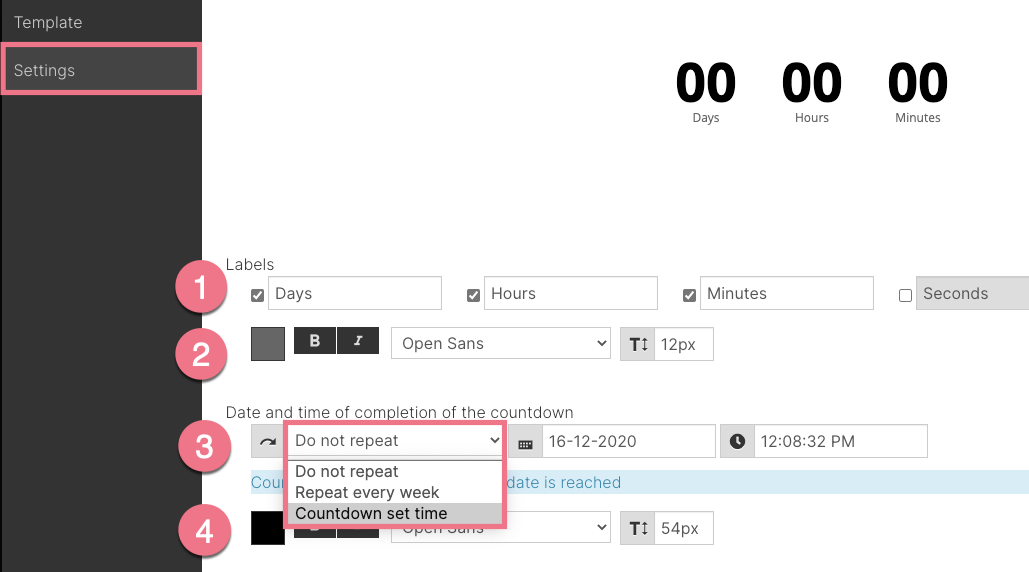
4. You can find counter options in the Settings tab.
By default, there are four Counter Labels (1) in the settings (days, hours, minutes, seconds). Unchecking one of them hides the selected label. Select style and font size of labels (2). Then set the countdown end time and choose if the counter should repeat the countdown or if it should count down all the time (3). Finally, select the style and font size of the numbers on the counter (4). Save and close.
You can see how the counter works only after the landing page is published or on a preview.
The counter will be reset according to the time set on the visitor's device.
REMEMBER!
The maximum period is 99 days.