

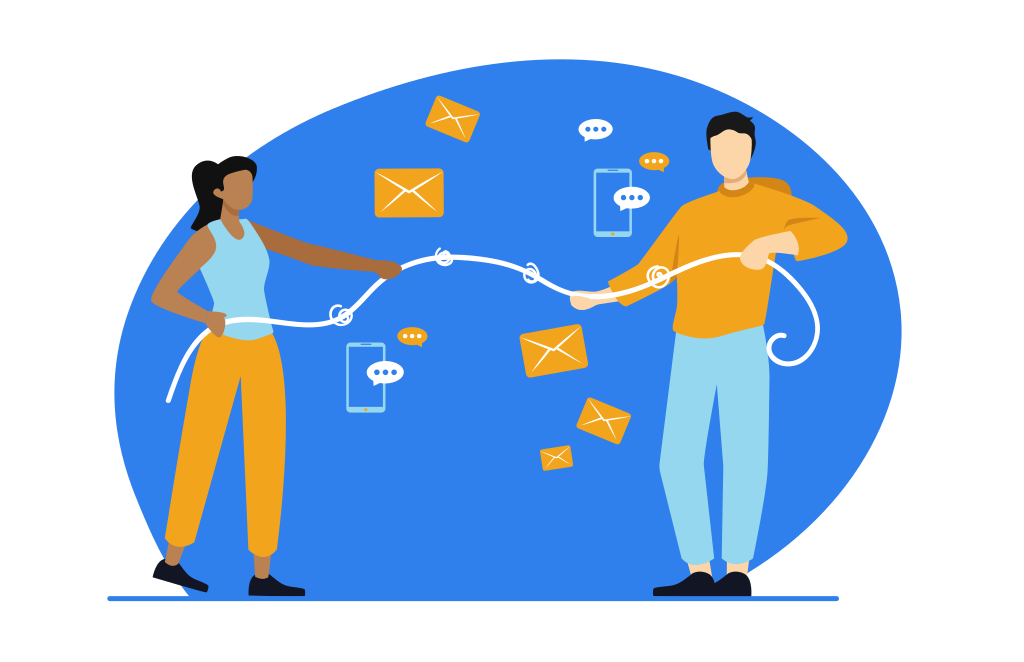
What are Sequences?
Simply put, sequences are dripped message campaigns. They can be set for any 24 hour interval and contain email, text messages, to both.
The most common use cases for sequences would be any evergreen (not date dependent) system where you the business owner would like to drip out specific messaging at specific intervals to your prospects, customers or staff.
Quick Training Links
- Common Use Cases For Sequences
- Your Sequences Dashboard Overview
- Finding Your Sequences dashboard
- Dashboard Functions
- Adding Contacts To A Sequence From Your Dashboard
- Duplicate or delete your sequence
- Sharing Your Sequence With Another Coach
- Sharing Your Sequence With Another Location You Own
- Creating Your First Sequence
- Adding or Editing Your Sequence Messages
- Adjusting Sequence Delivery Intervals
- Adding Messages To Your Sequence
- Add/Use SMS Messages Within Your Sequence
- Add/Use Email Message Within Your Sequence
- Customize Your Sequence Email Content
- Starting A Sequence From Your Bulk Actions Menu
- Starting A Sequence Via Journey
- Commonly Asked Questions
Common Use Cases For Sequences
Here are some common uses we see with the sequences feature:
- Lead follow up systems (No lead left behind system)
- Client onboarding systems (dripped welcome email and daily text messages or emails)
- Program motivation emails (21-day keto challenge motivational emails)
- Evergreen product launches (opt-in + countdown sequences)
- Reactivation systems (after cancellation nurture)
- And the list goes on...
When you want to follow up over time with evergreen or timeless content sequences are your best friend.
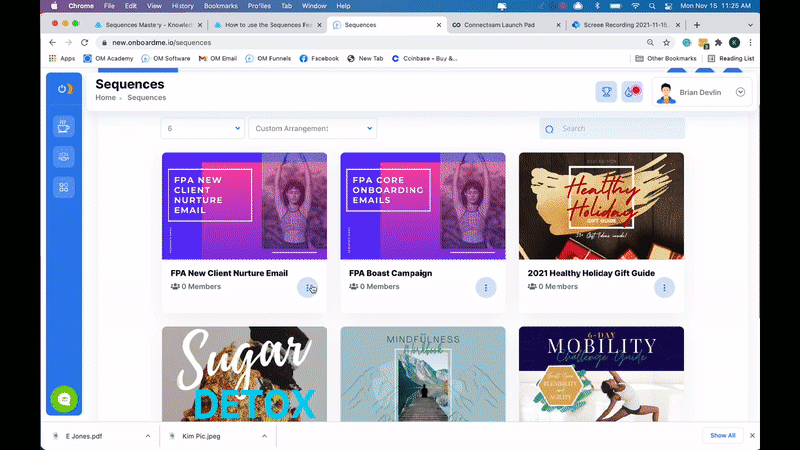
Your Sequences Dashboard Overview
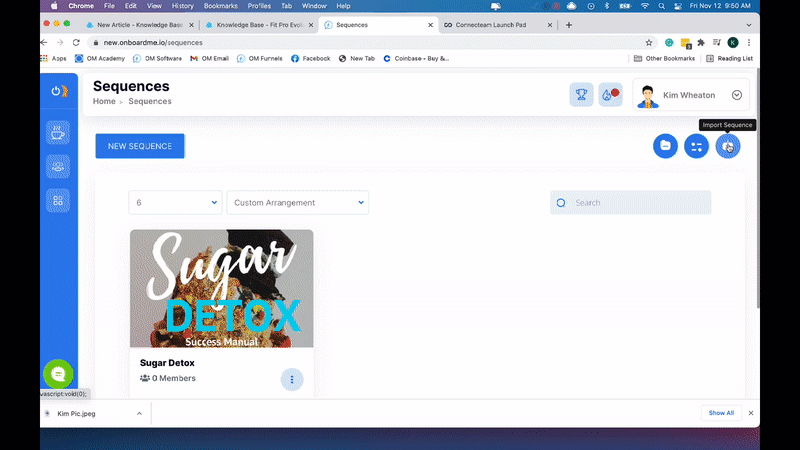
Finding Your Sequences dashboard
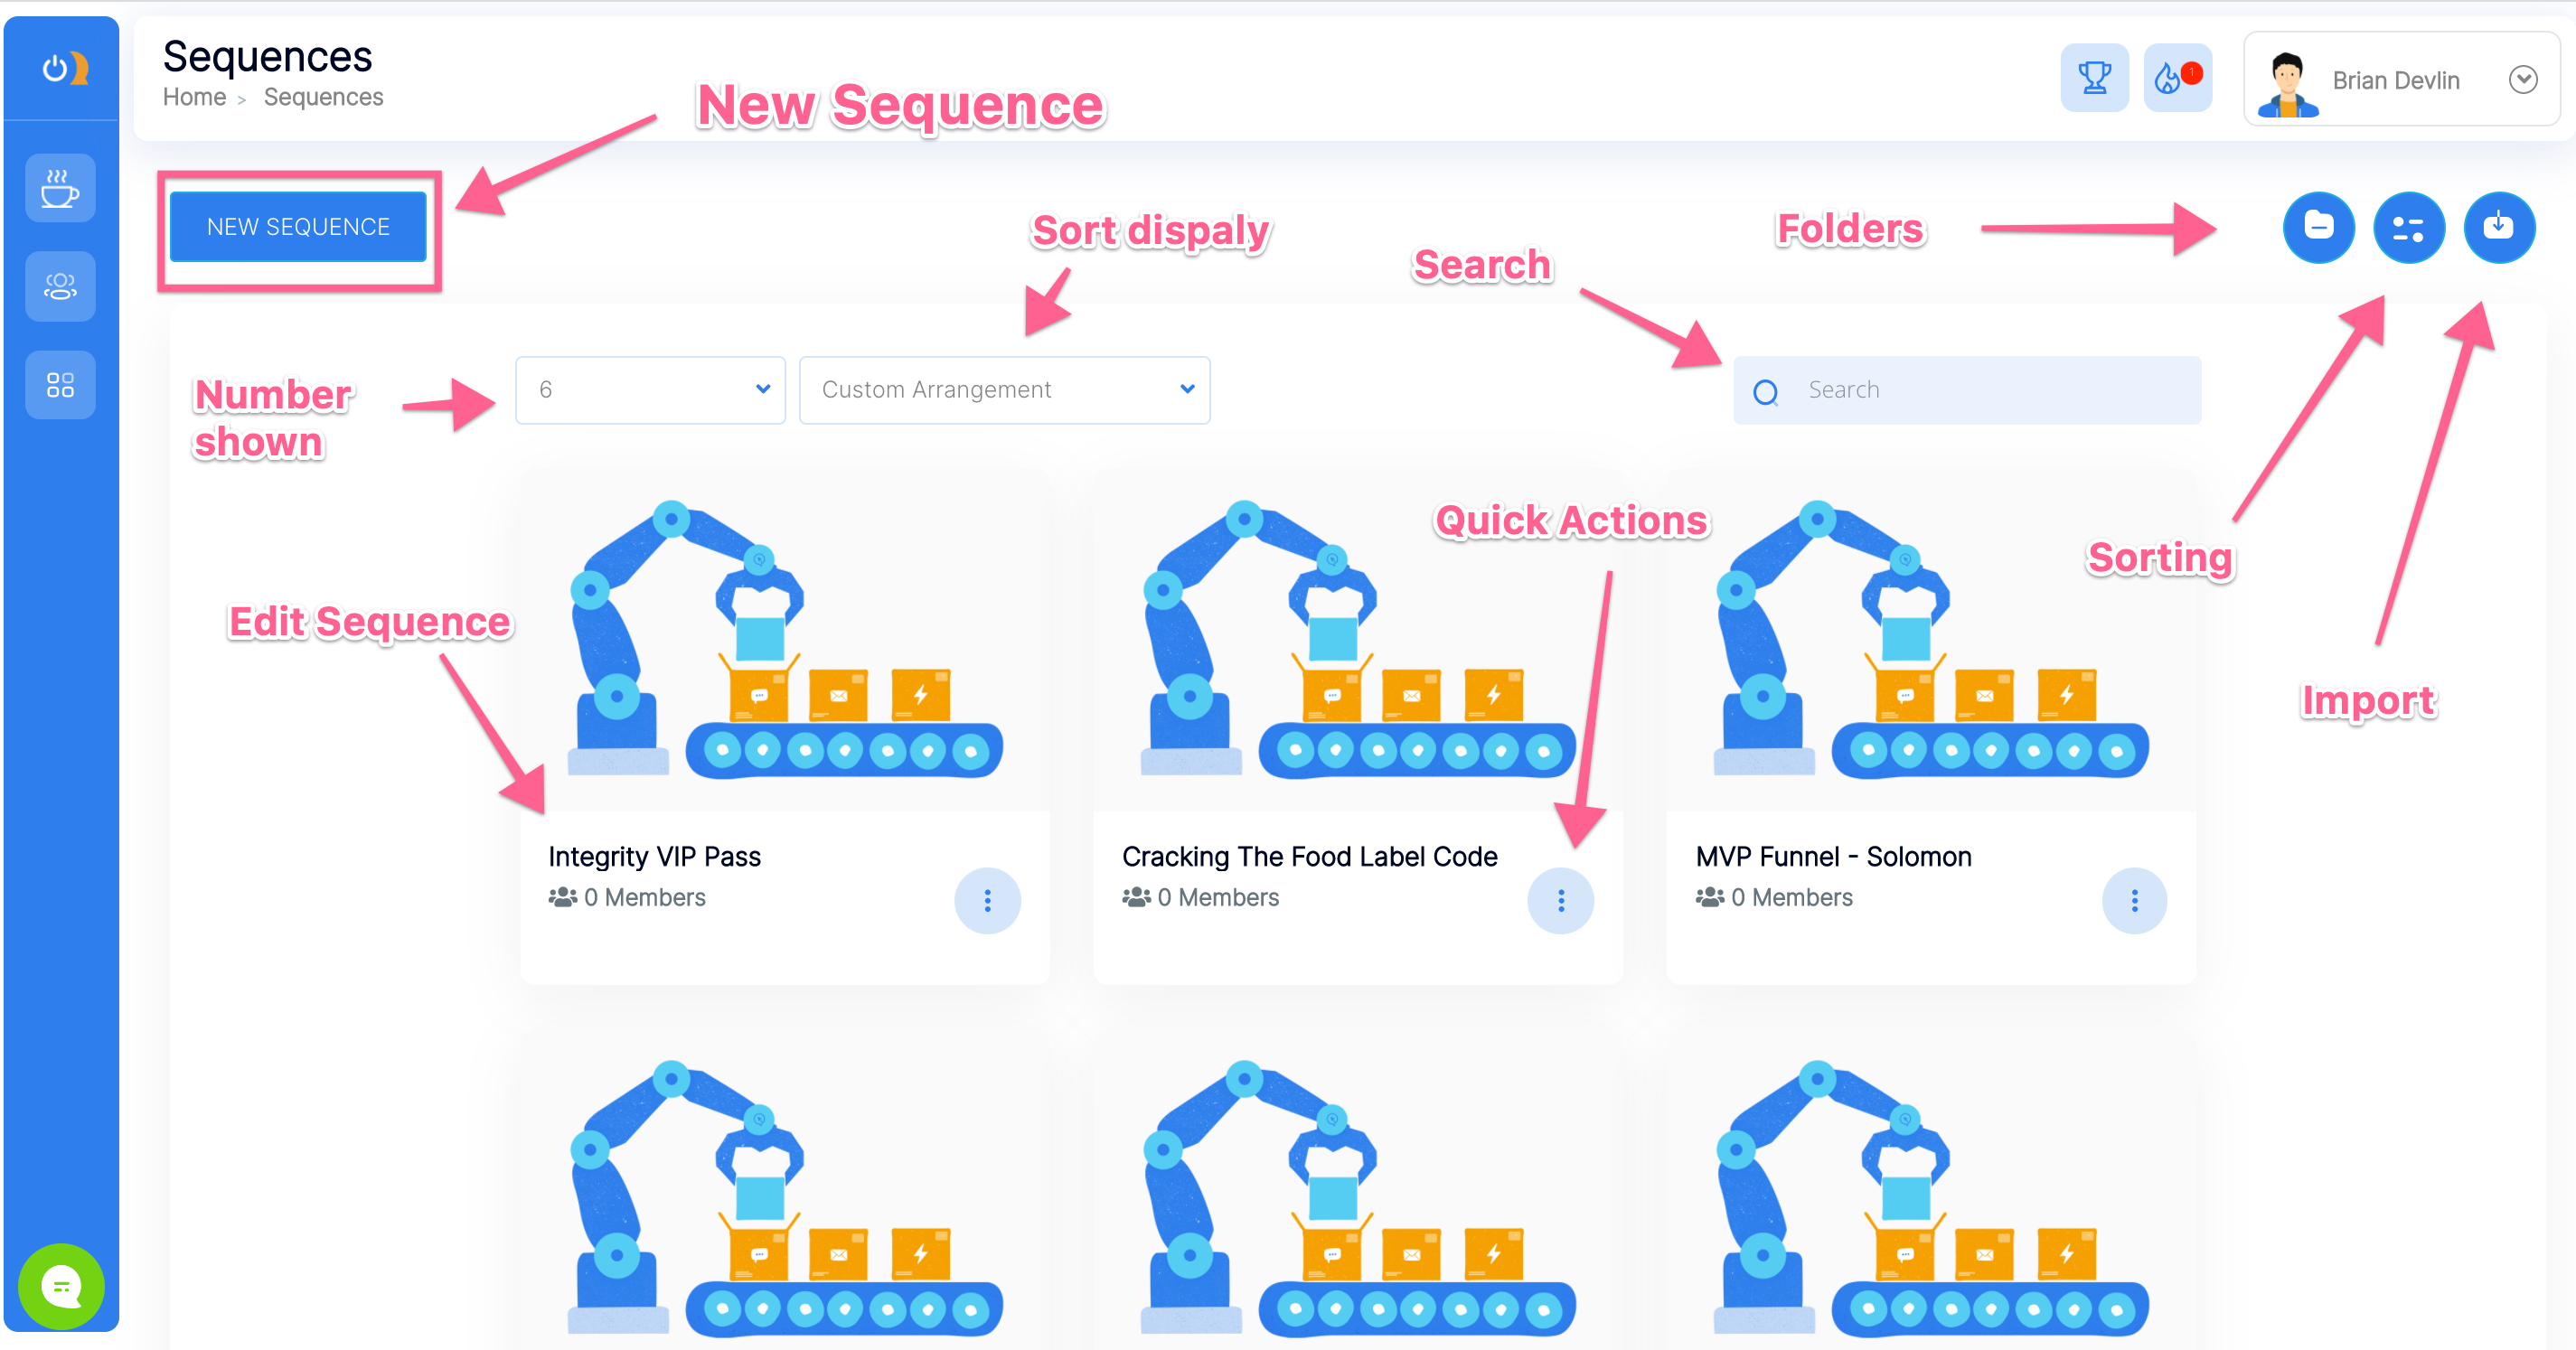
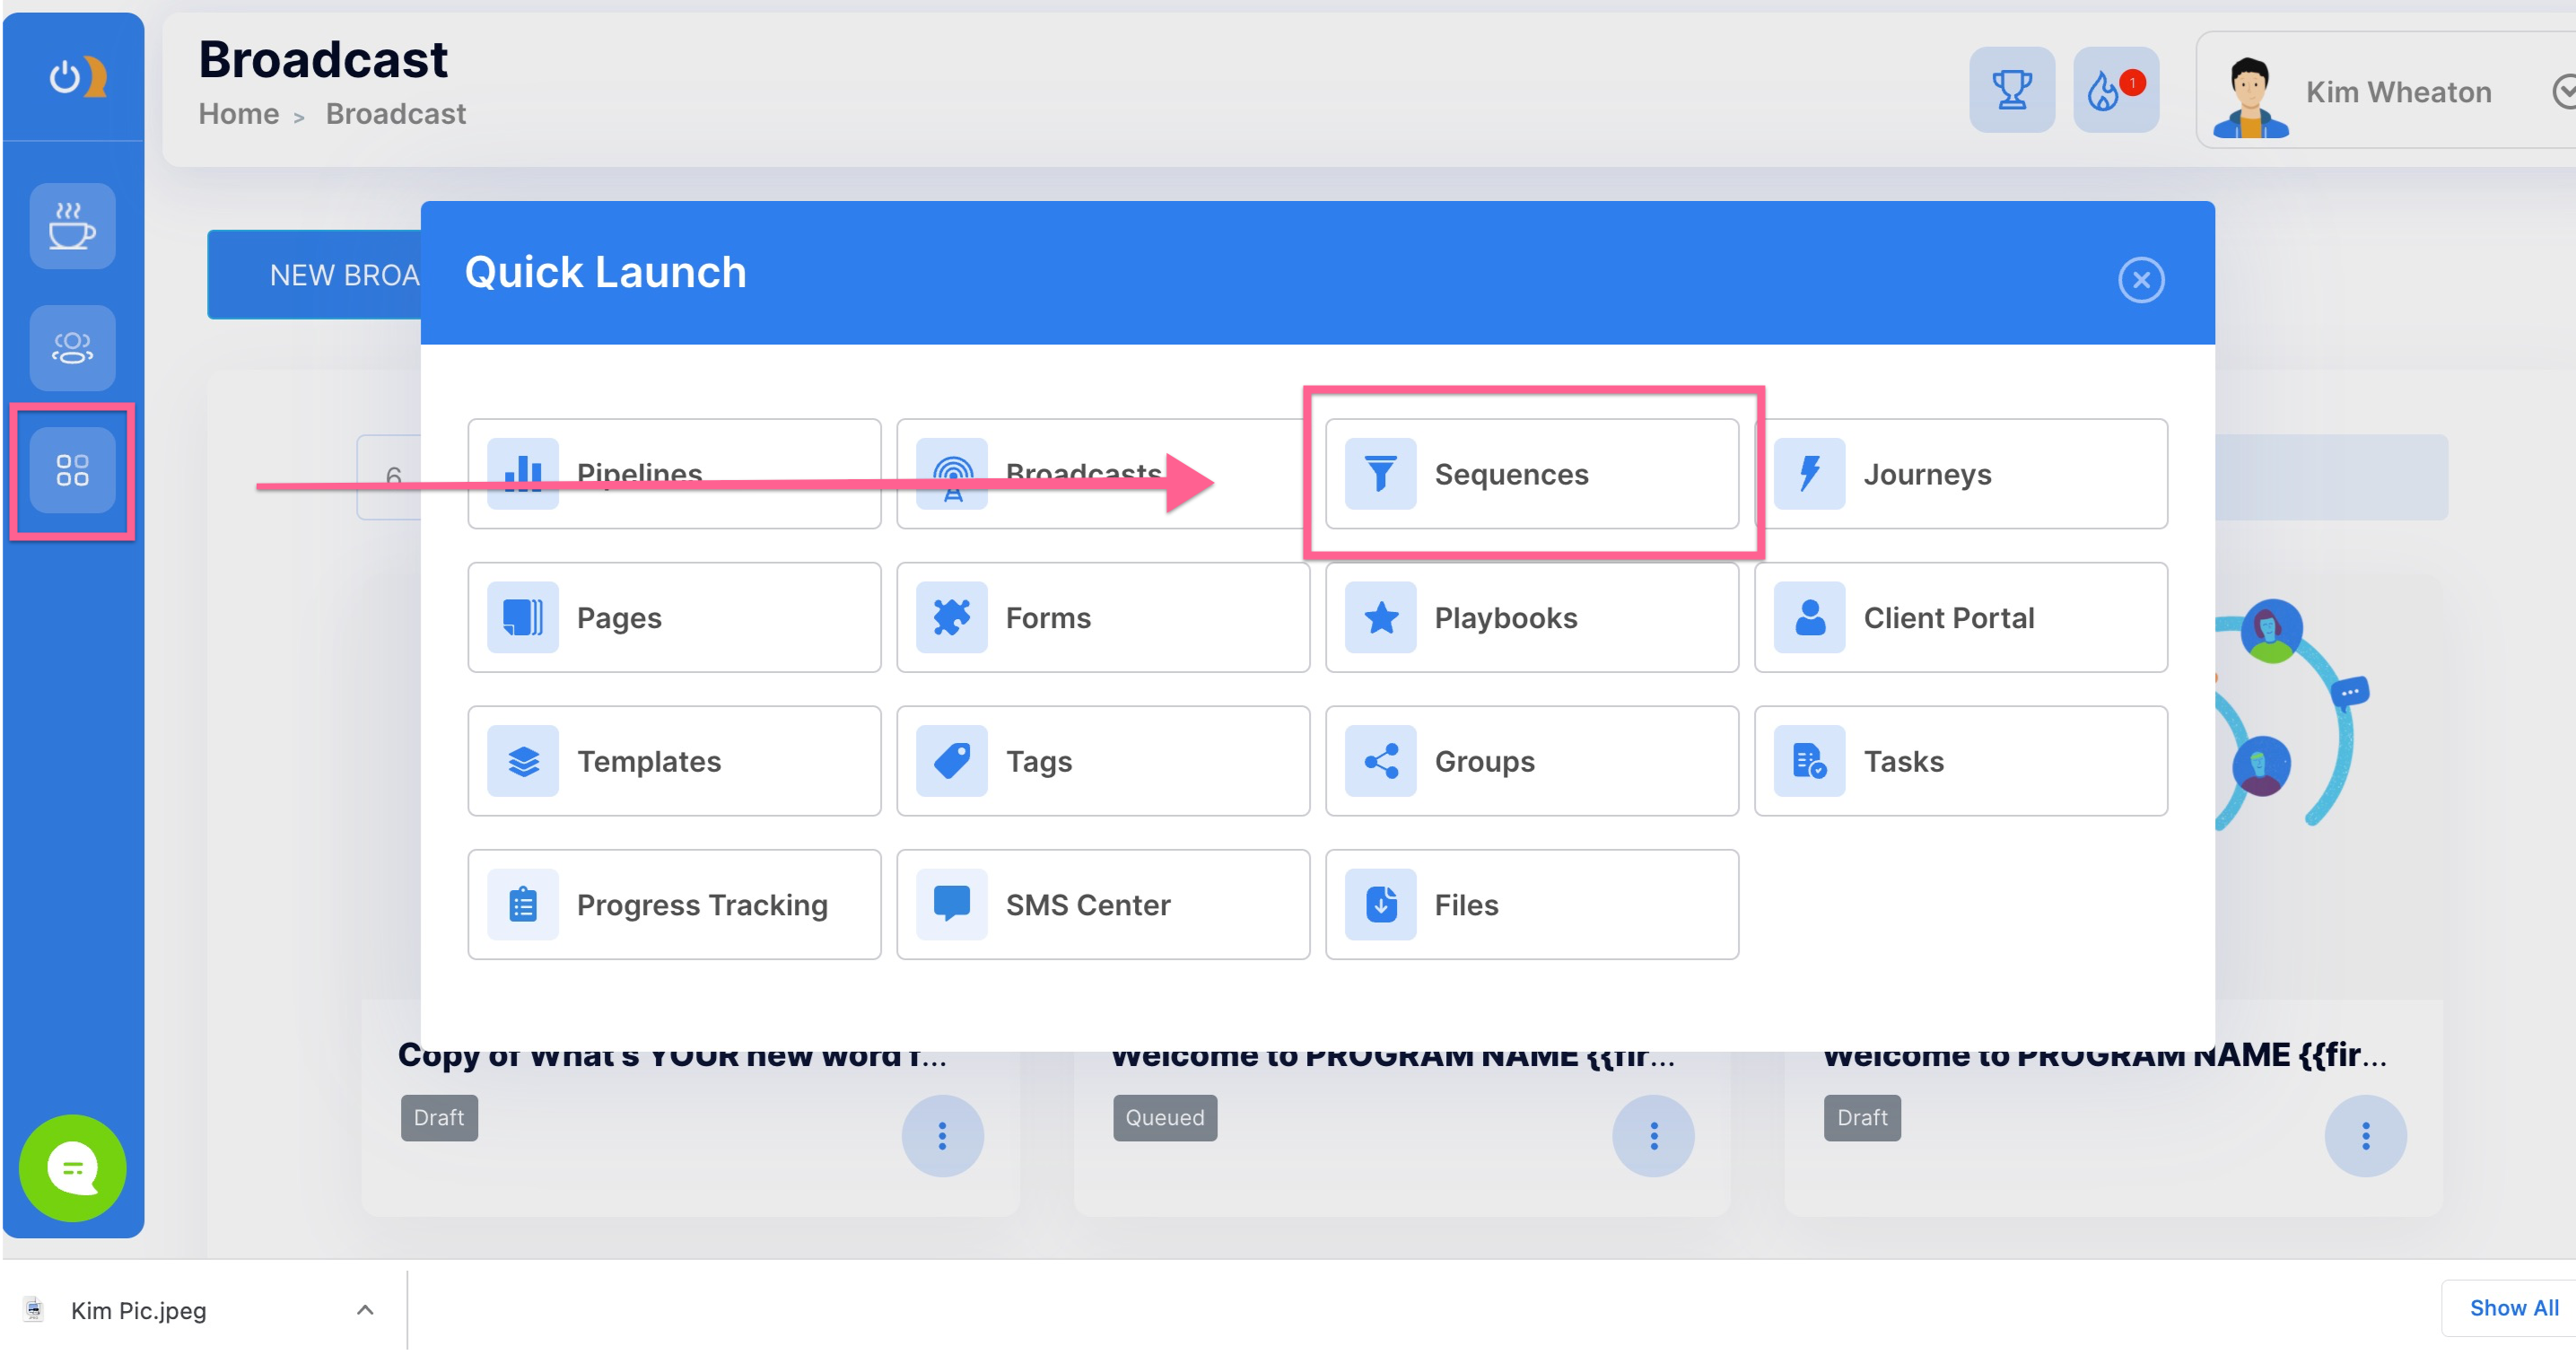
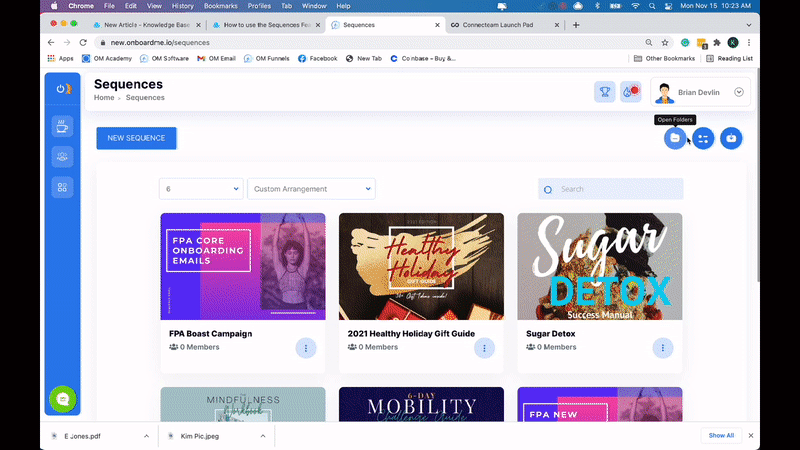
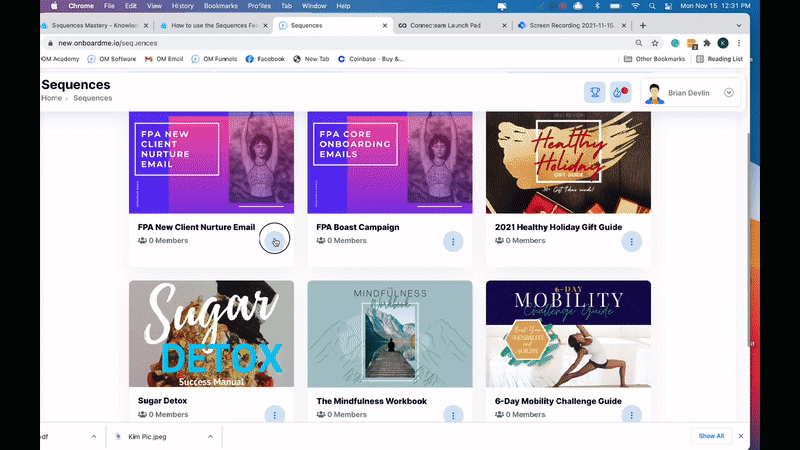
Click your Quick launch tool, then Sequences to access the sequences dashboard. This is where you will go to reference, create, edit, and track your multi-channel sequences.
Dashboard Functions
Import an existing sequence:
If your dashboard is currently empty, you may wish to import an existing sequence. To do this, click the Import Sequence button on the upper right side of your screen. Copy and paste your import link into the text field, then click Import. Now you can easily access your sequence thumbnail from the dashboard.
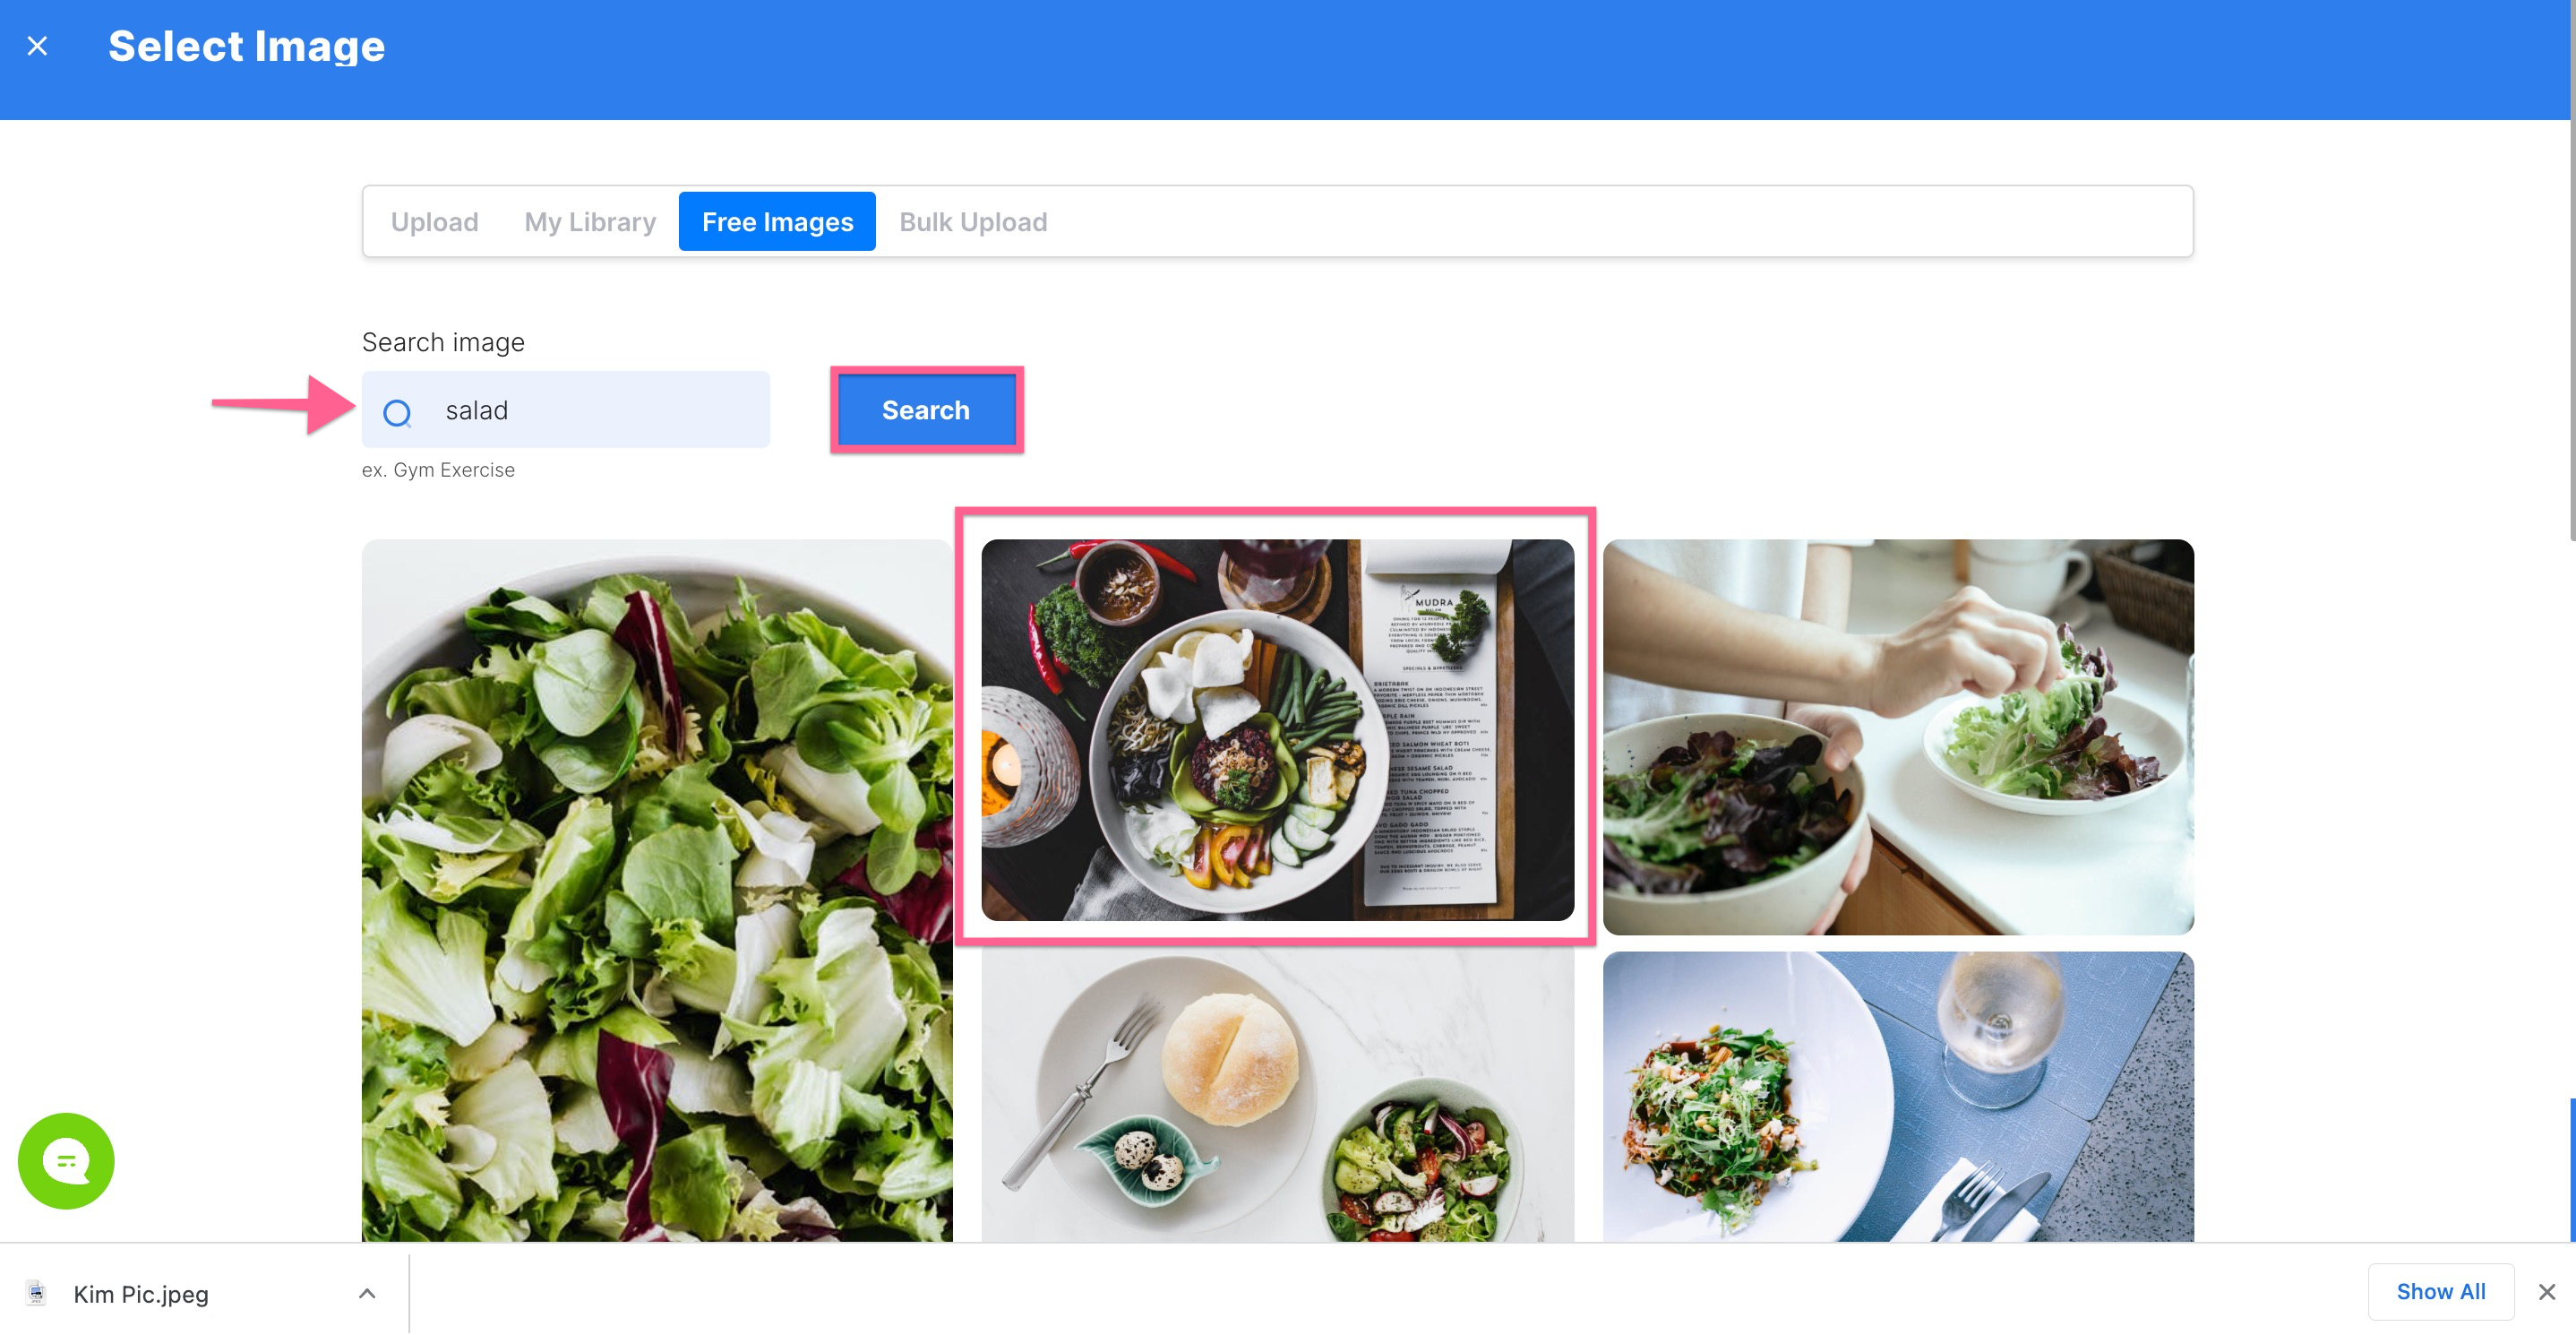
Edit your sequence thumbnail image:
To edit your thumbnail image, simply hover over it and click the pencil icon.

3 options: Upload an image from your Library or search within the Free Images provided by Onboard Me.
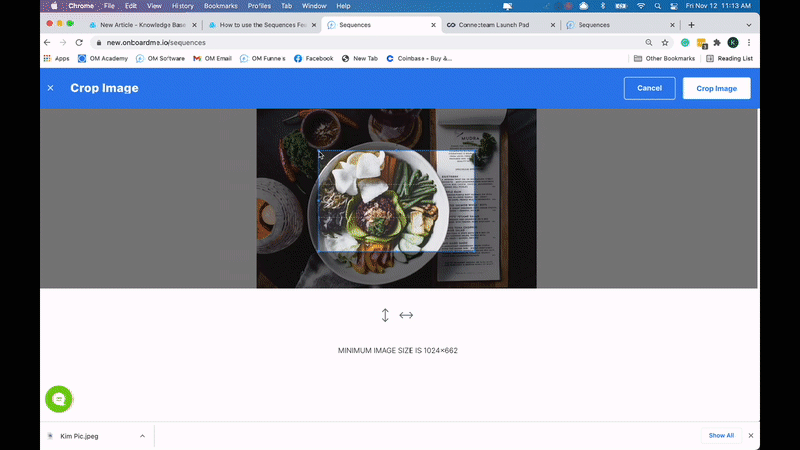
Cropping:
Crop your image and click Save. Assigning thumbnail images to each sequence will make it easier to navigate multiple sequences as you accumulate more.
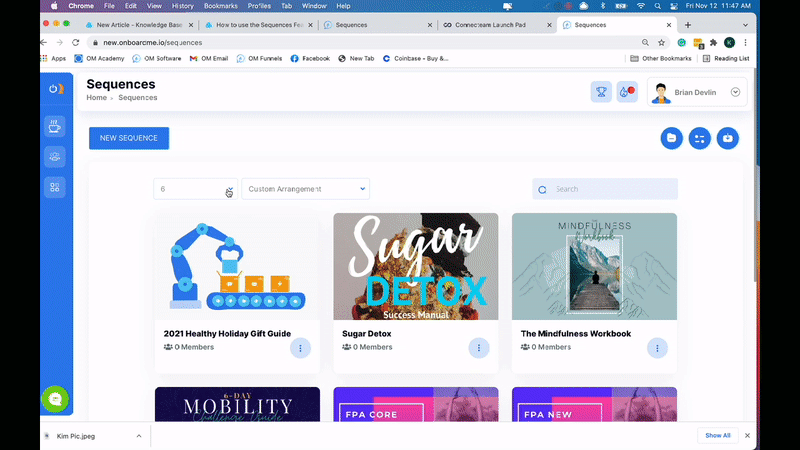
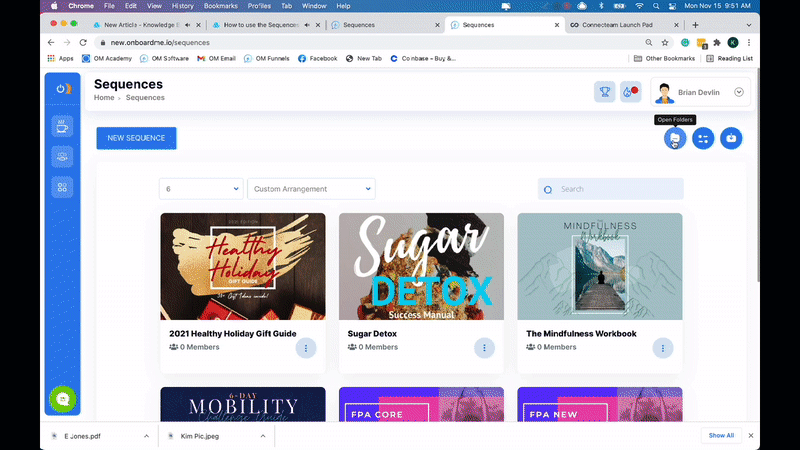
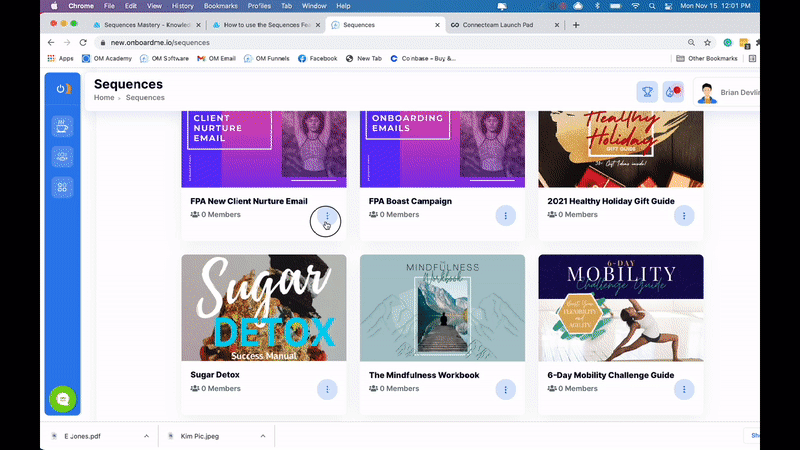
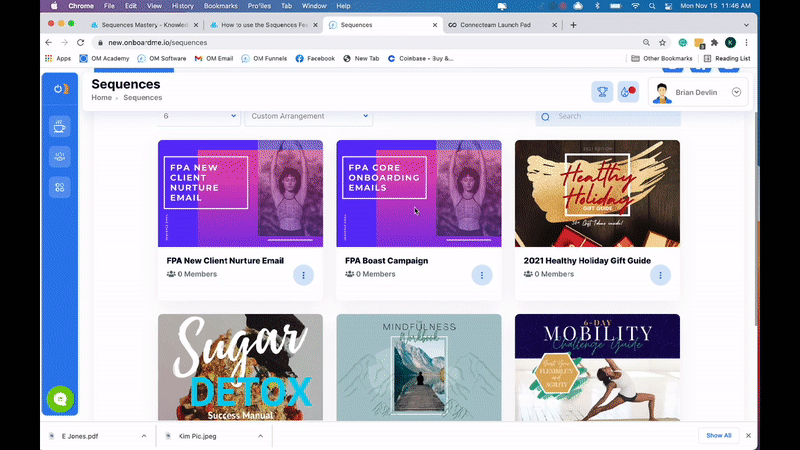
Organizing and arranging sequences:
Custom arrange your sequences by using tools at the top of your dashboard. To set the number of thumbnails visible on your screen, click the number drop-down menu. Then, organize sequences manually or by selecting criteria under the Custom Arrangement drop-down. You can sort alphabetically, by date created, or by performance markers such as email sends, open rates, subscriber/unsubscribe rate, and SMS sends.
Sorting:
To manually sort your sequences, click the middle icon on the upper right side of your screen. Here, you can rearrange the order of titles according to preference.
Using Sequence Folders:
Click the folder icon to create a new folder, where you can consolidate sequences based on similar themes, challenge details, etc. This process tidies up your dashboard and simplifies access to sequences in the future. After naming the folder, click the "more" dots, then Add Sequences. Pull all applicable sequences from your database, then click Add. You will now find those sequences in your new folder. You can choose to hide folders from your dashboard by clicking the folder icon again.
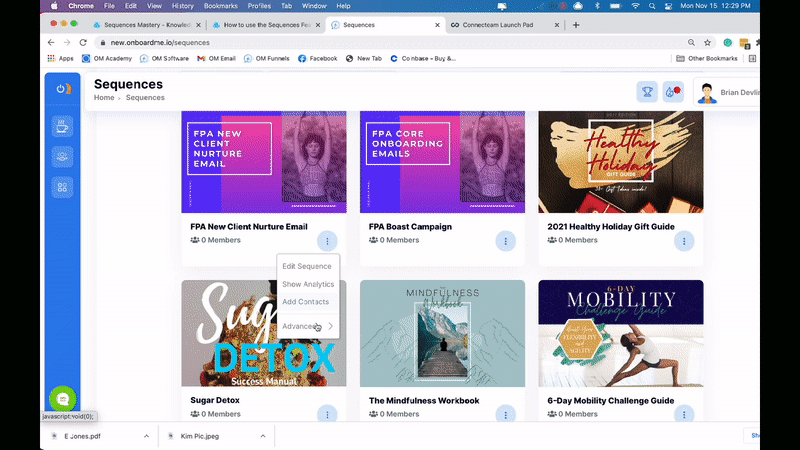
As you create new sequences, drop them into their appropriate folders by clicking Advanced options in the thumbnail dropdown, then Move To Folder (select folder then click Move).
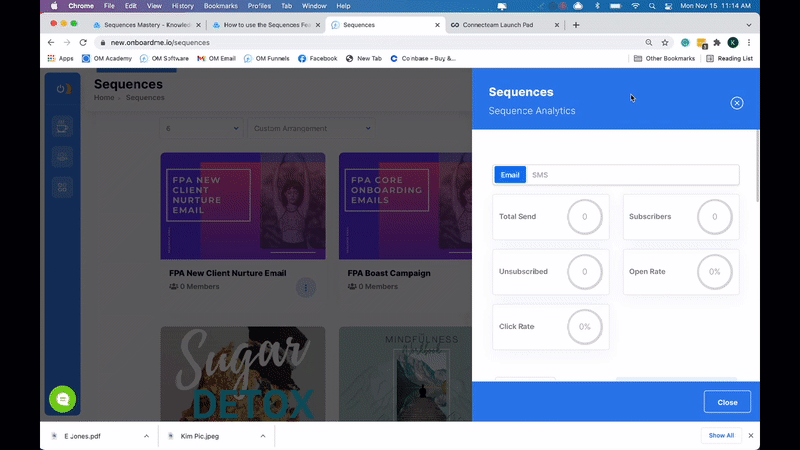
Checking Sequence Analytics:
For a quick view of specific sequence analytics, click the more dots on your sequence thumbnail and select Show Analytics.
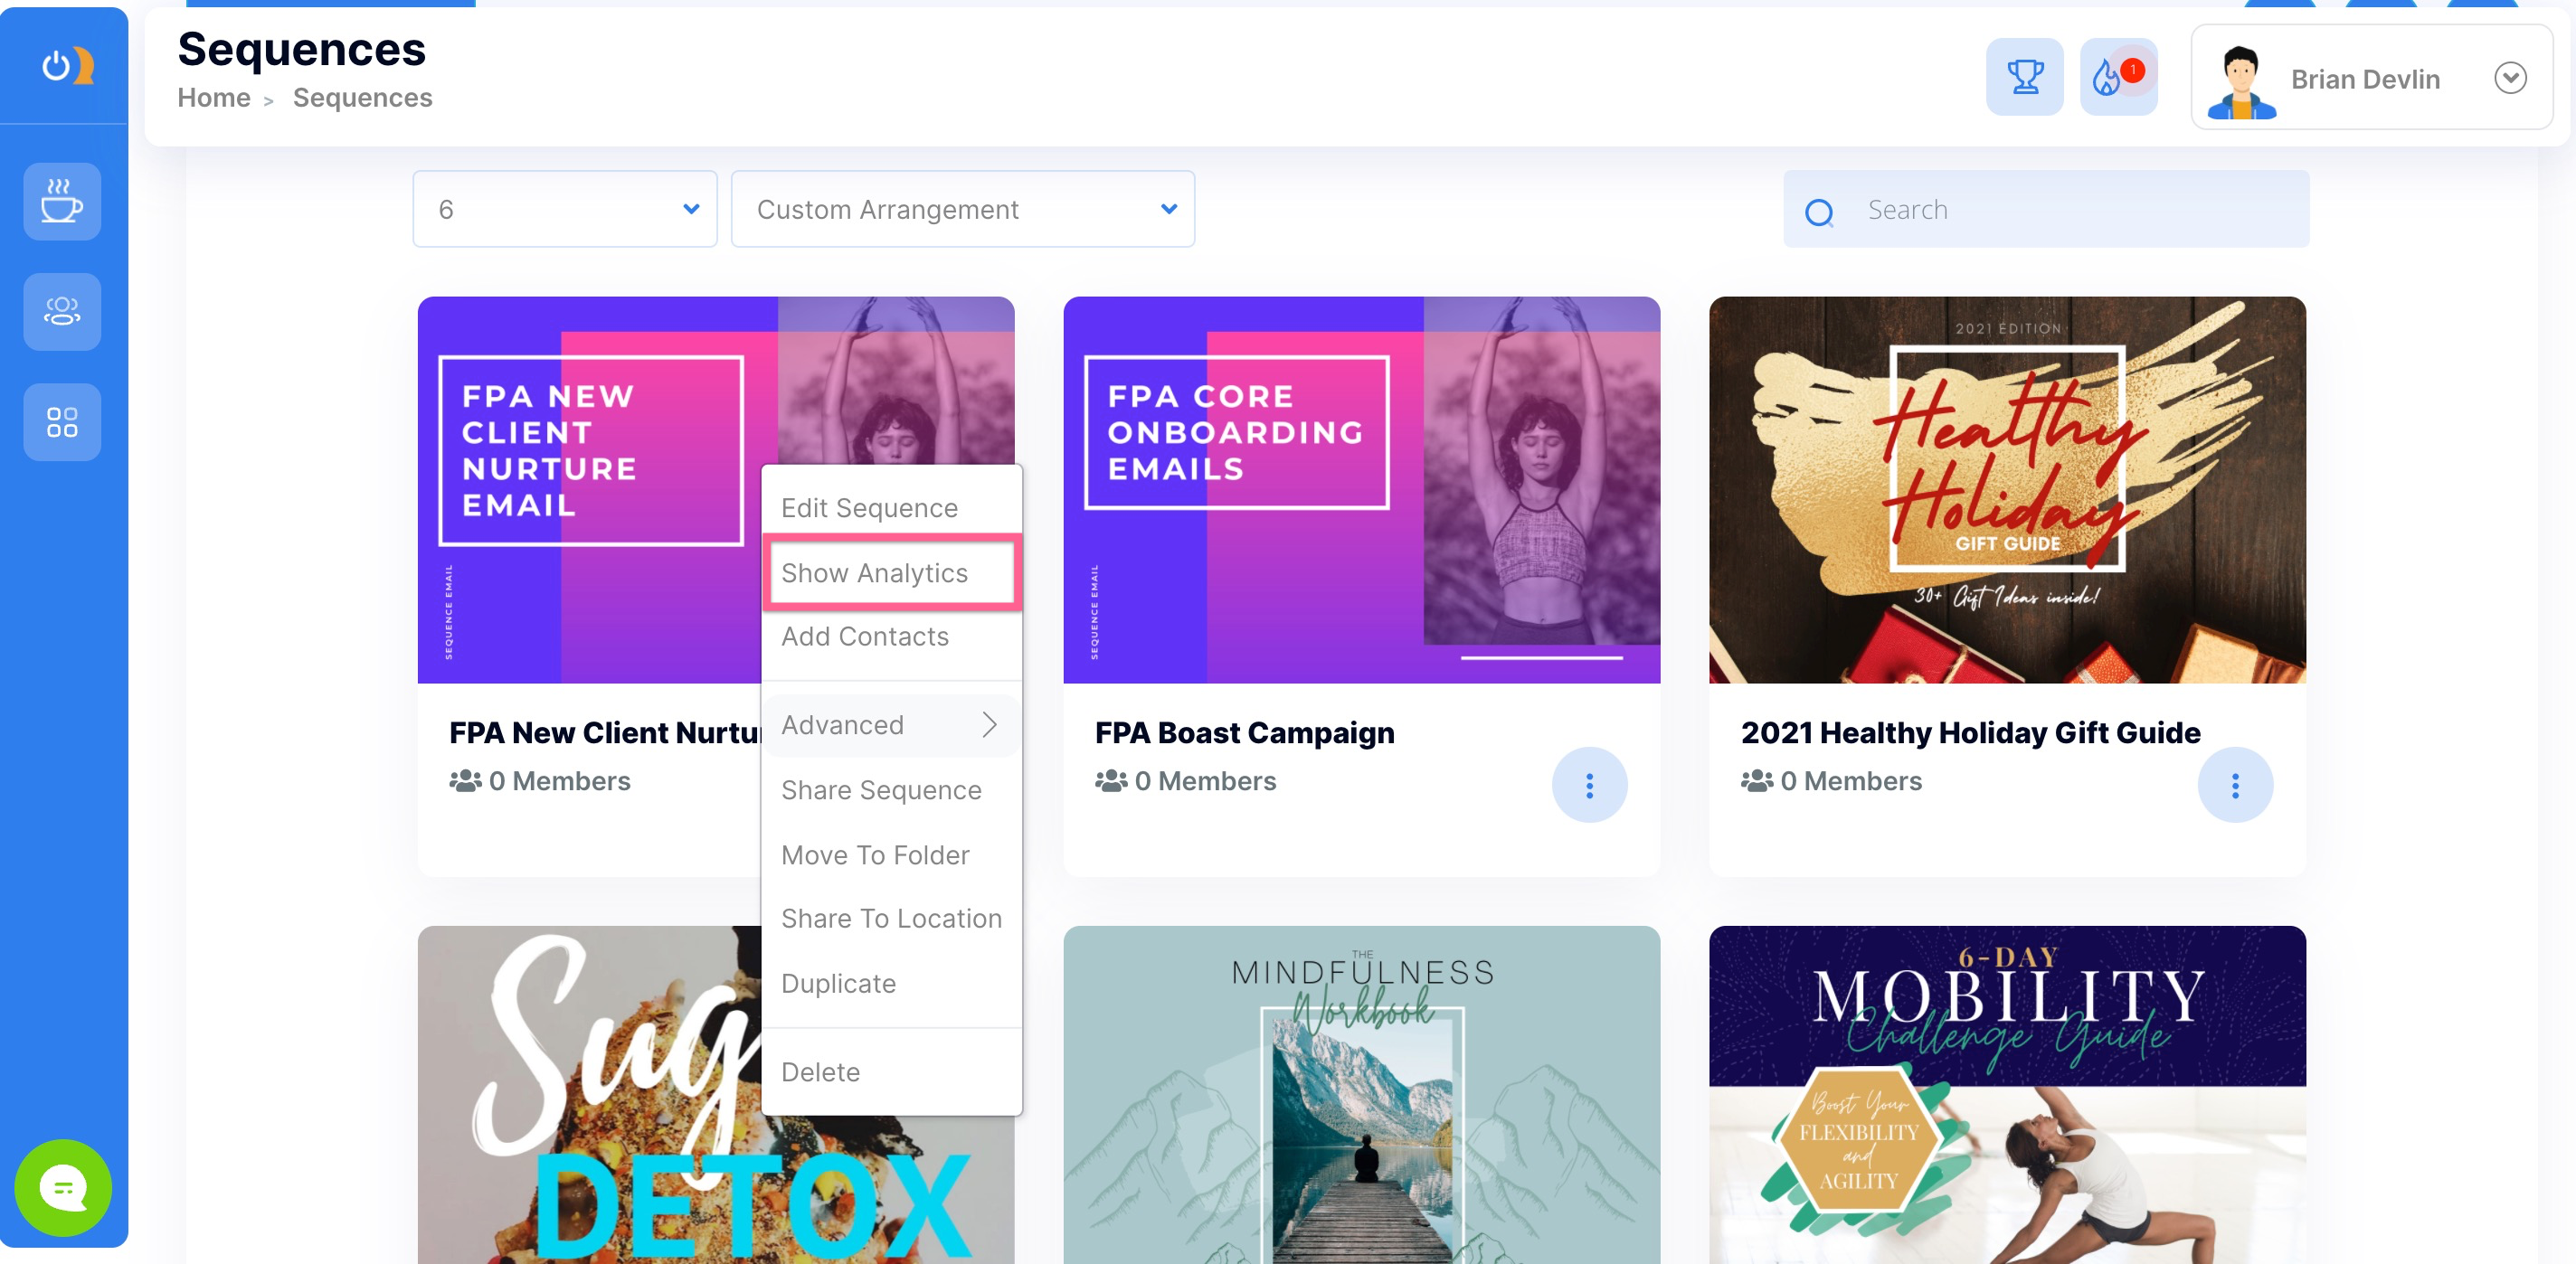
A service panel will then display vital data about the performance of each email/SMS delivery within your sequence.
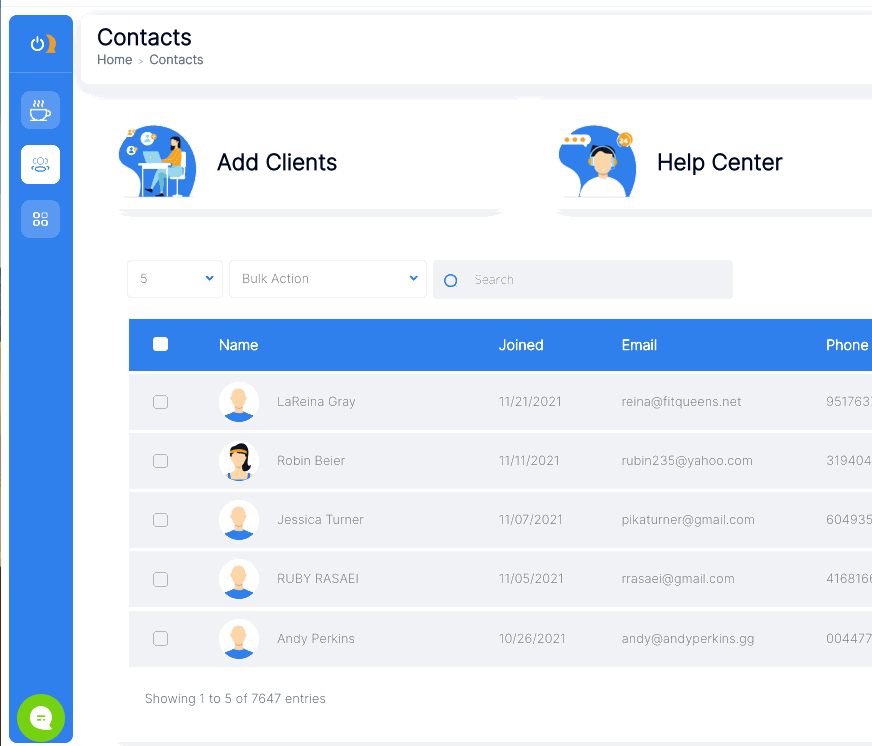
Adding Contacts To A Sequence From Your Dashboard
Easily add contacts to your sequence by clicking Add Contacts in the thumbnail dropdown. Select which users you would like to add, then click Add to complete the step.
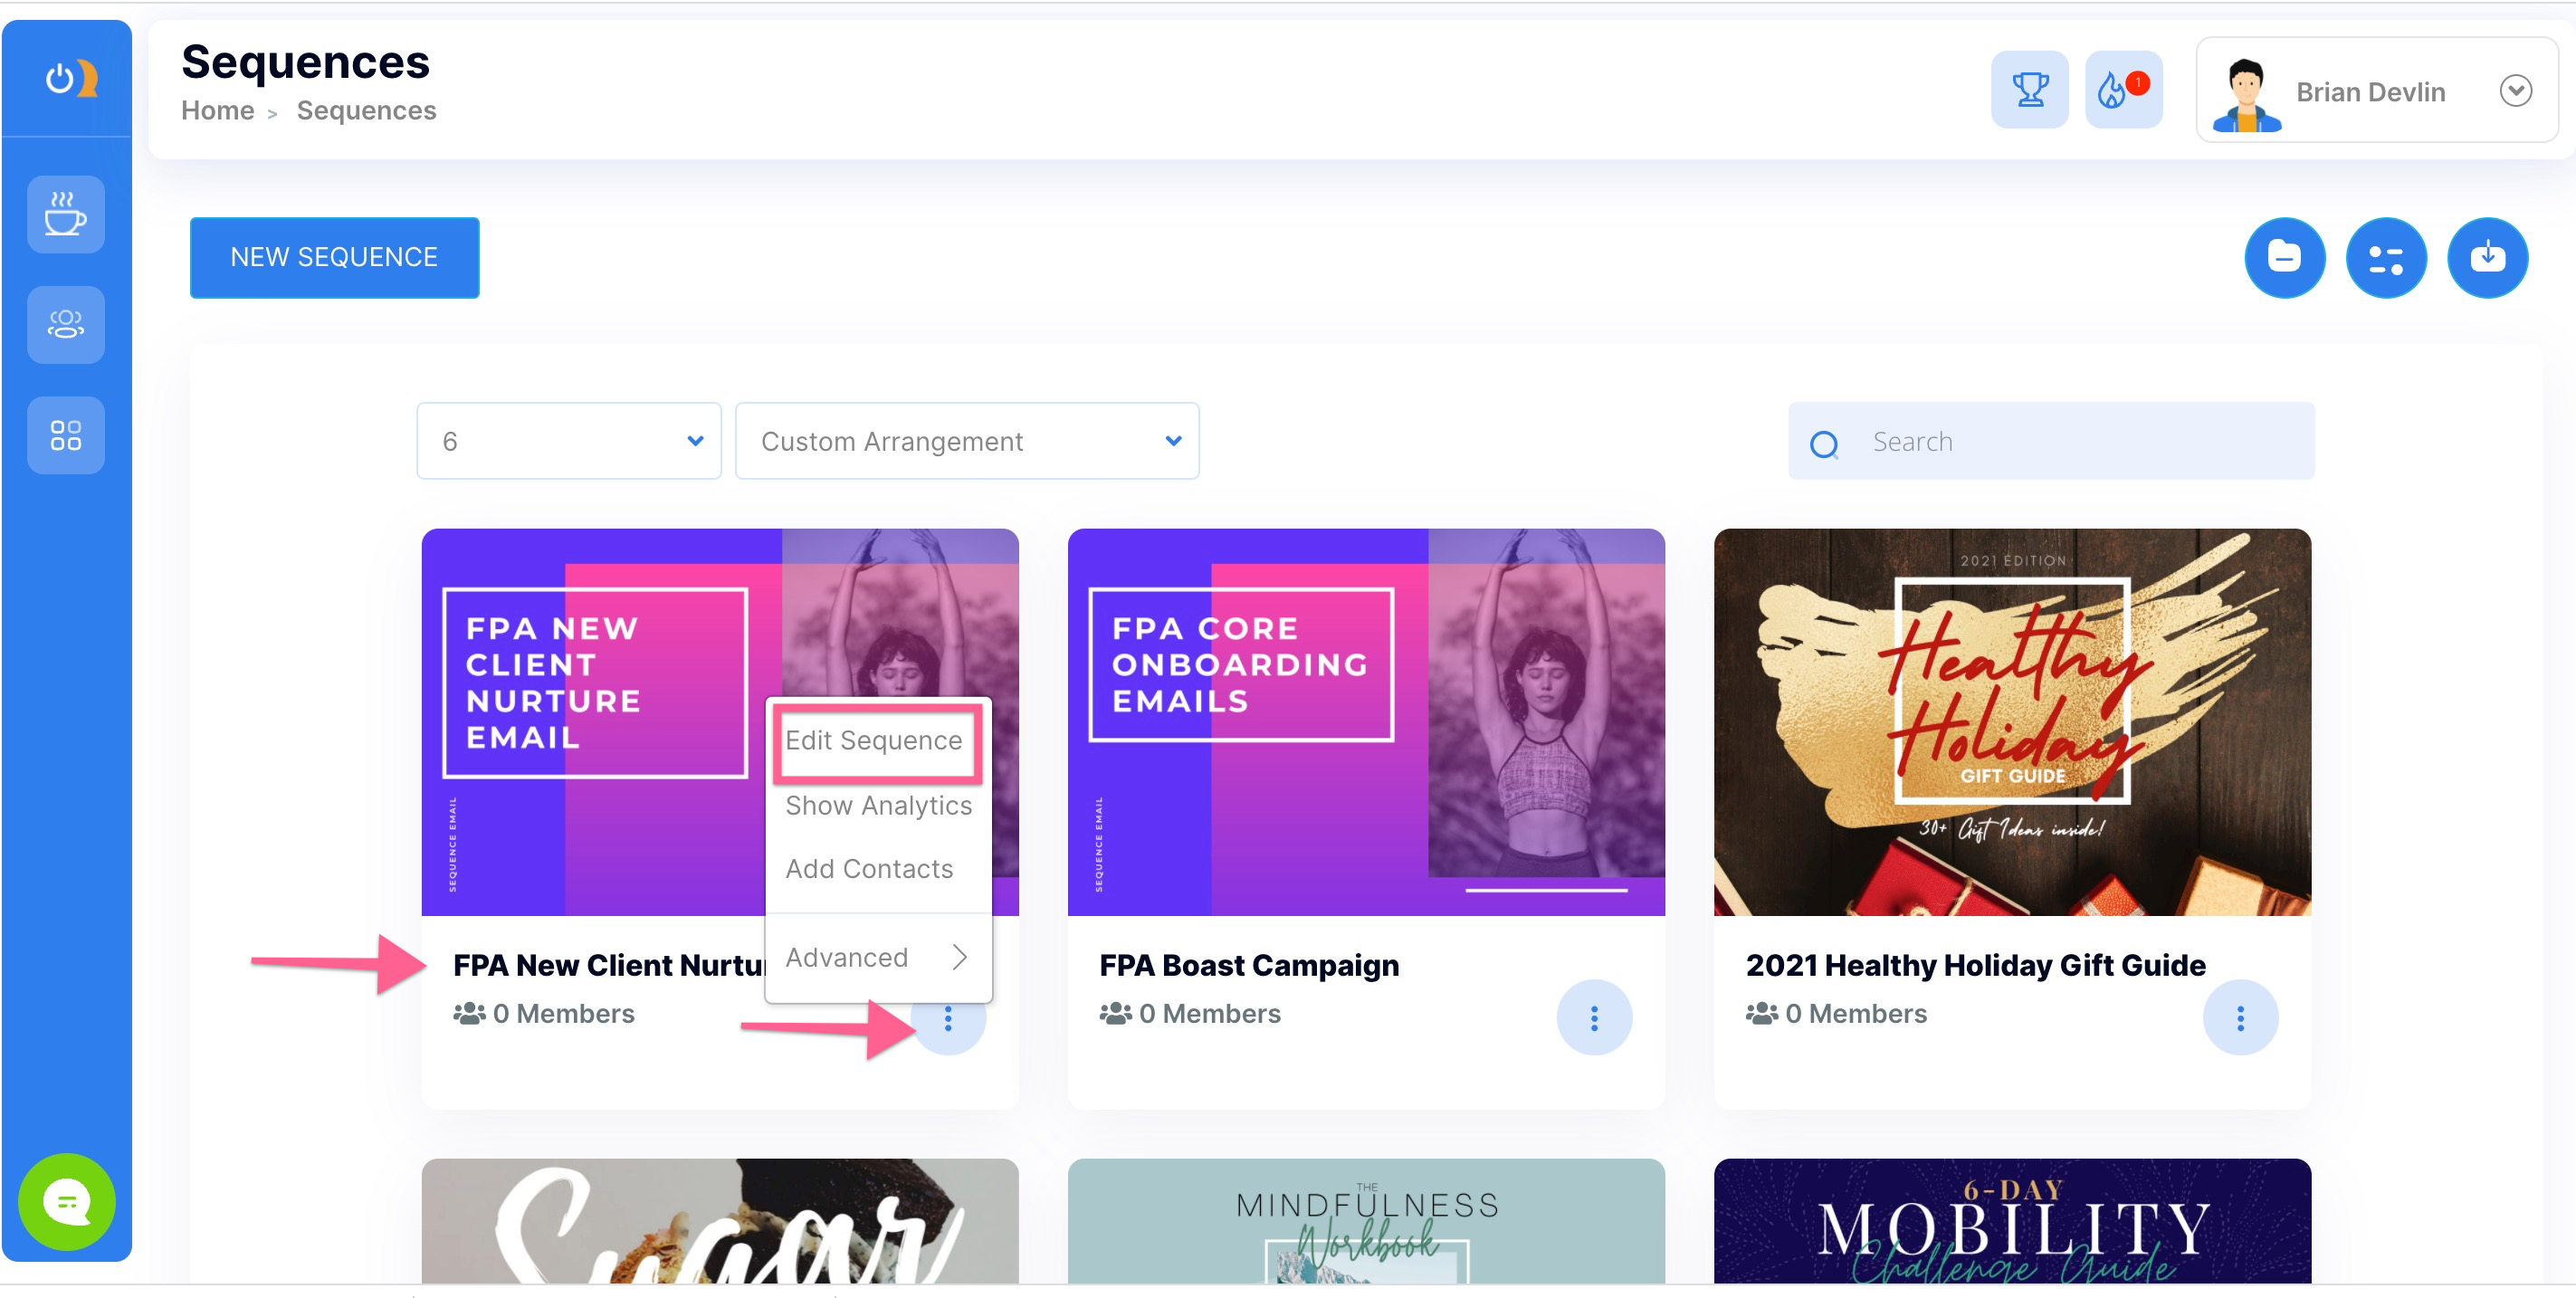
Duplicate or delete your sequence:
By using the dropdown within your thumbnail, click Advanced to reveal more options. Click Duplicate or Delete, depending on your objective.
Sharing Your Sequence With Another Coach
To share your sequence with a fellow Onboard Me member, click Advanced within the thumbnail dropdown. Then click Share Sequence to find your share link. So long as the recipient of your sequence is logged into Onboard Me, that person simply needs to click the link for the sequence to immediately import. By selecting Limited Share or Unlimited Share, you allow the share link to be imported/shared by one person or by multiple people, respectively. Both options allow for tracking, which is visible in the service panel.
Sharing Your Sequence With Another Location You Own
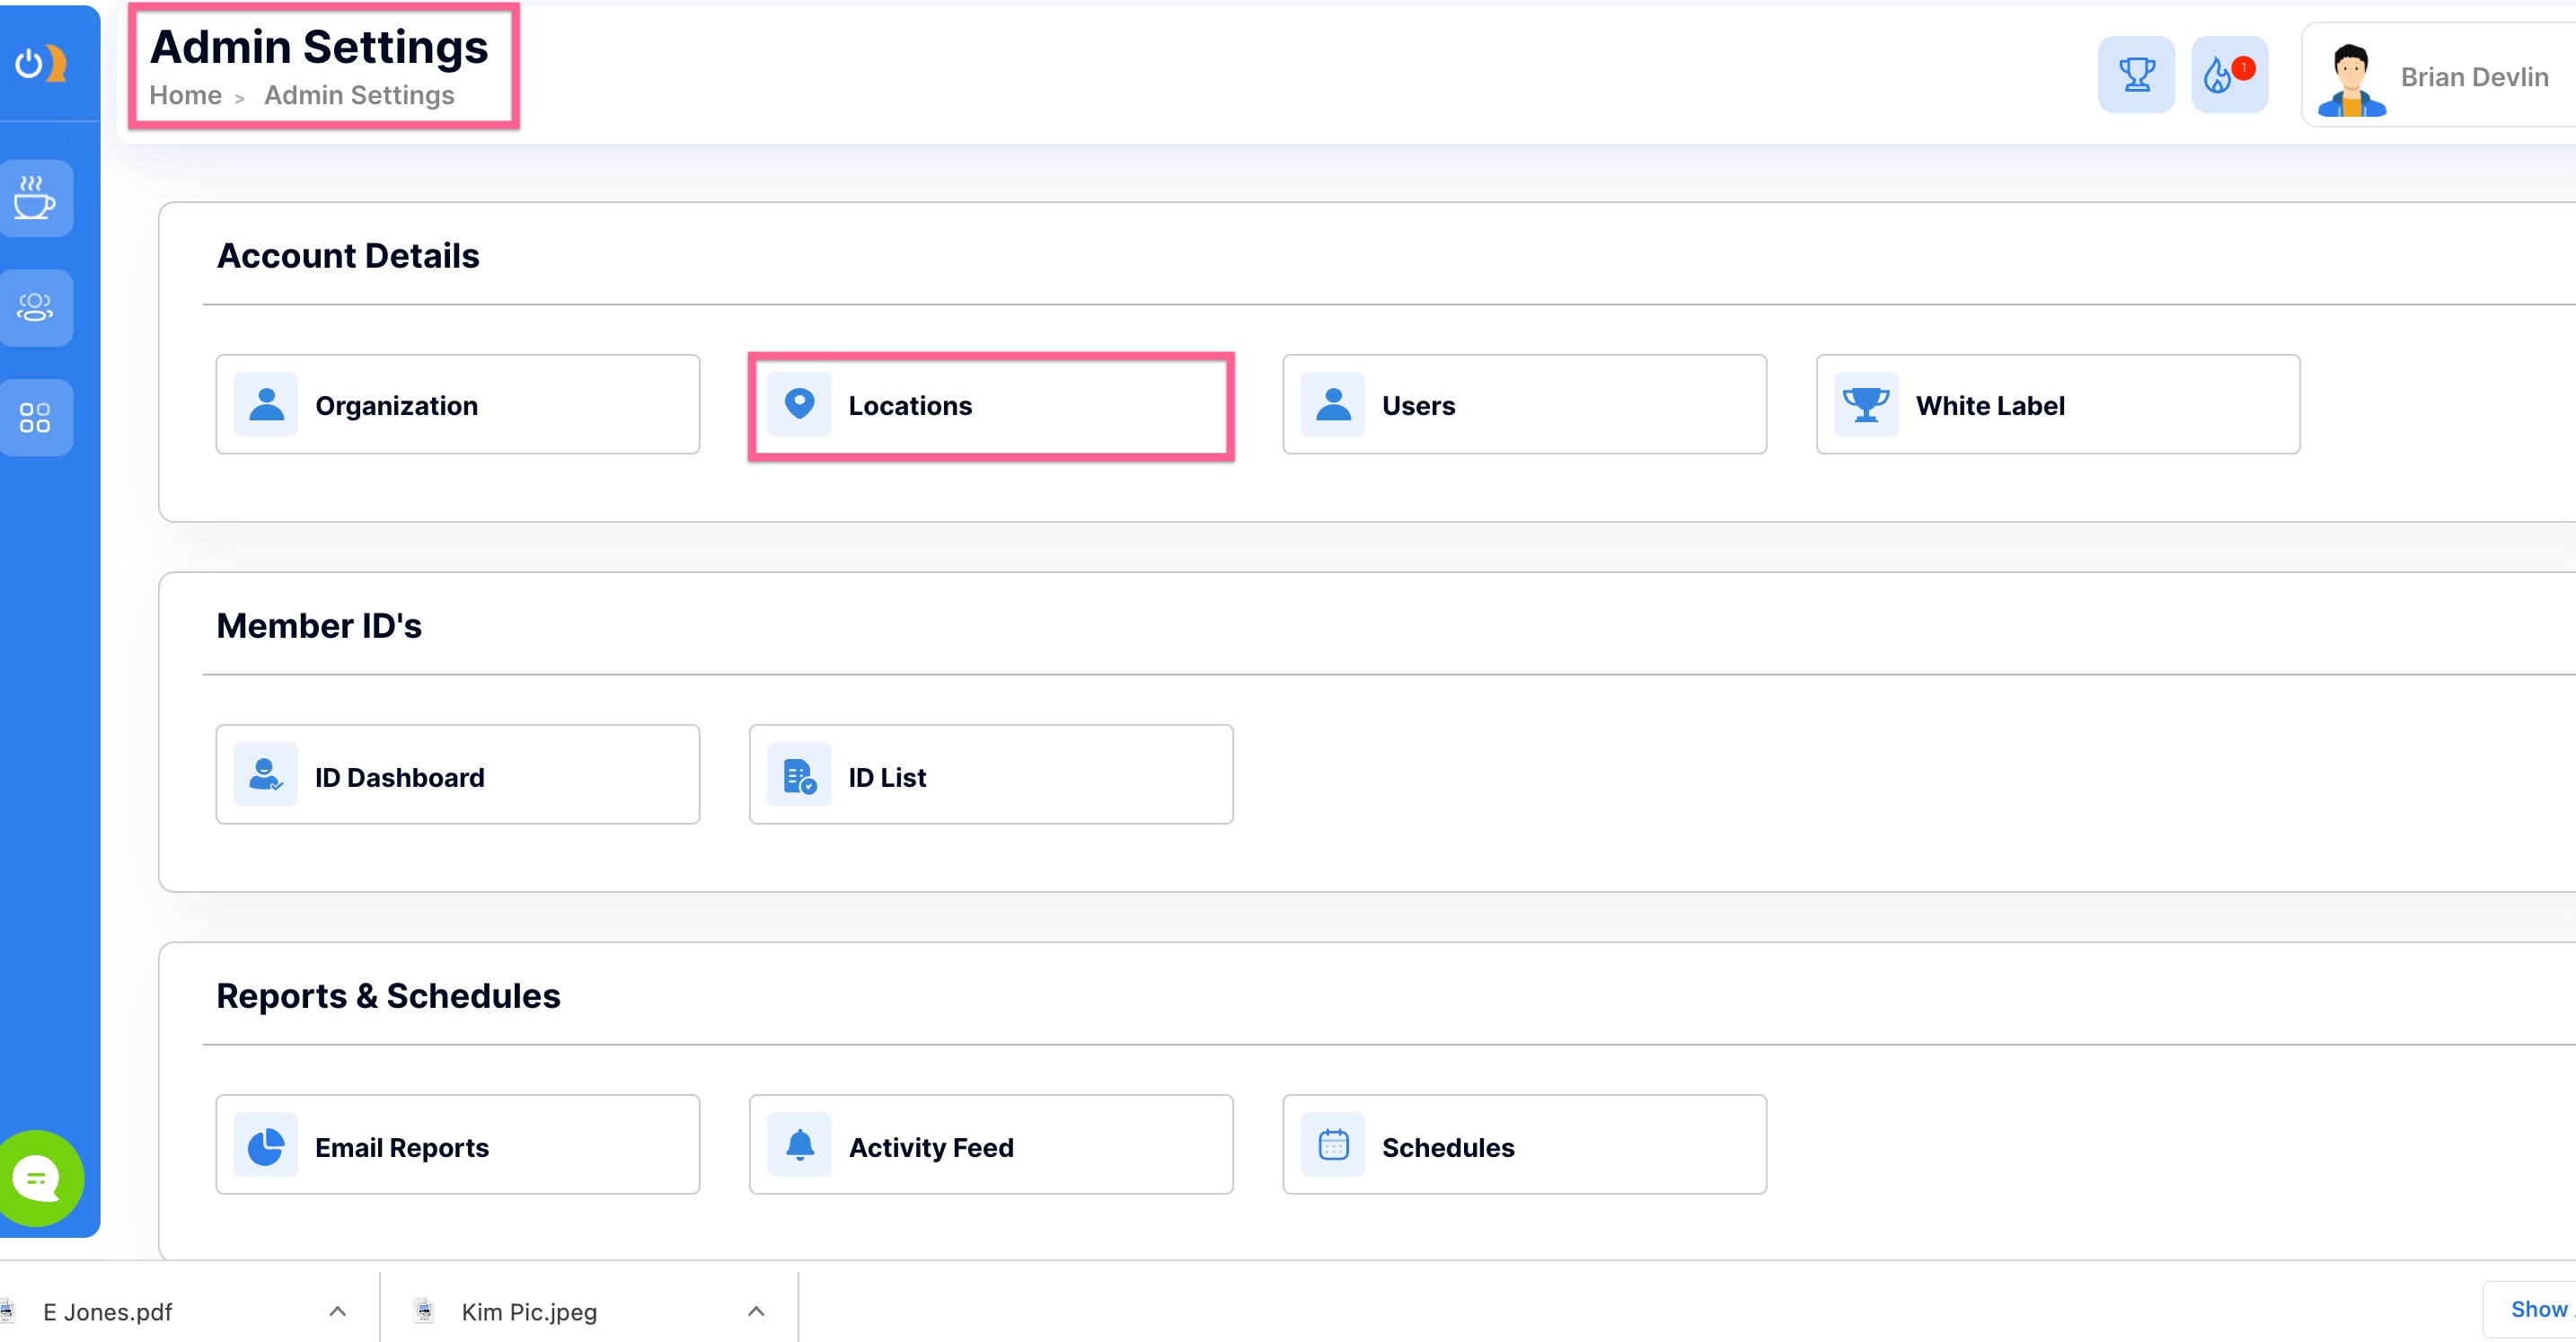
To share your sequence with an additional business location, use the same thumbnail drop down and click Share To Location.
If you still need to add or edit your business locations, go to My Account Settings (Admin Settings) then click Locations. For further assistance setting up your Locations Setting, click HERE.
Creating Your First Sequence
Click the New Sequence button on the upper left side of your screen, name your sequence, and click Import. You will see the new sequence thumbnail populate on your dashboard.
Adding or Editing Your Sequence Messages
To edit your sequence, click on the sequence title or use the "more" dots in the thumbnail, then select "Edit Sequence."
This will take you to your sequence editing page. To view or edit your sequence settings, click the gear icon or the time/location link (when your sequence is scheduled to deploy) at the top of your template. The settings drawer will open.
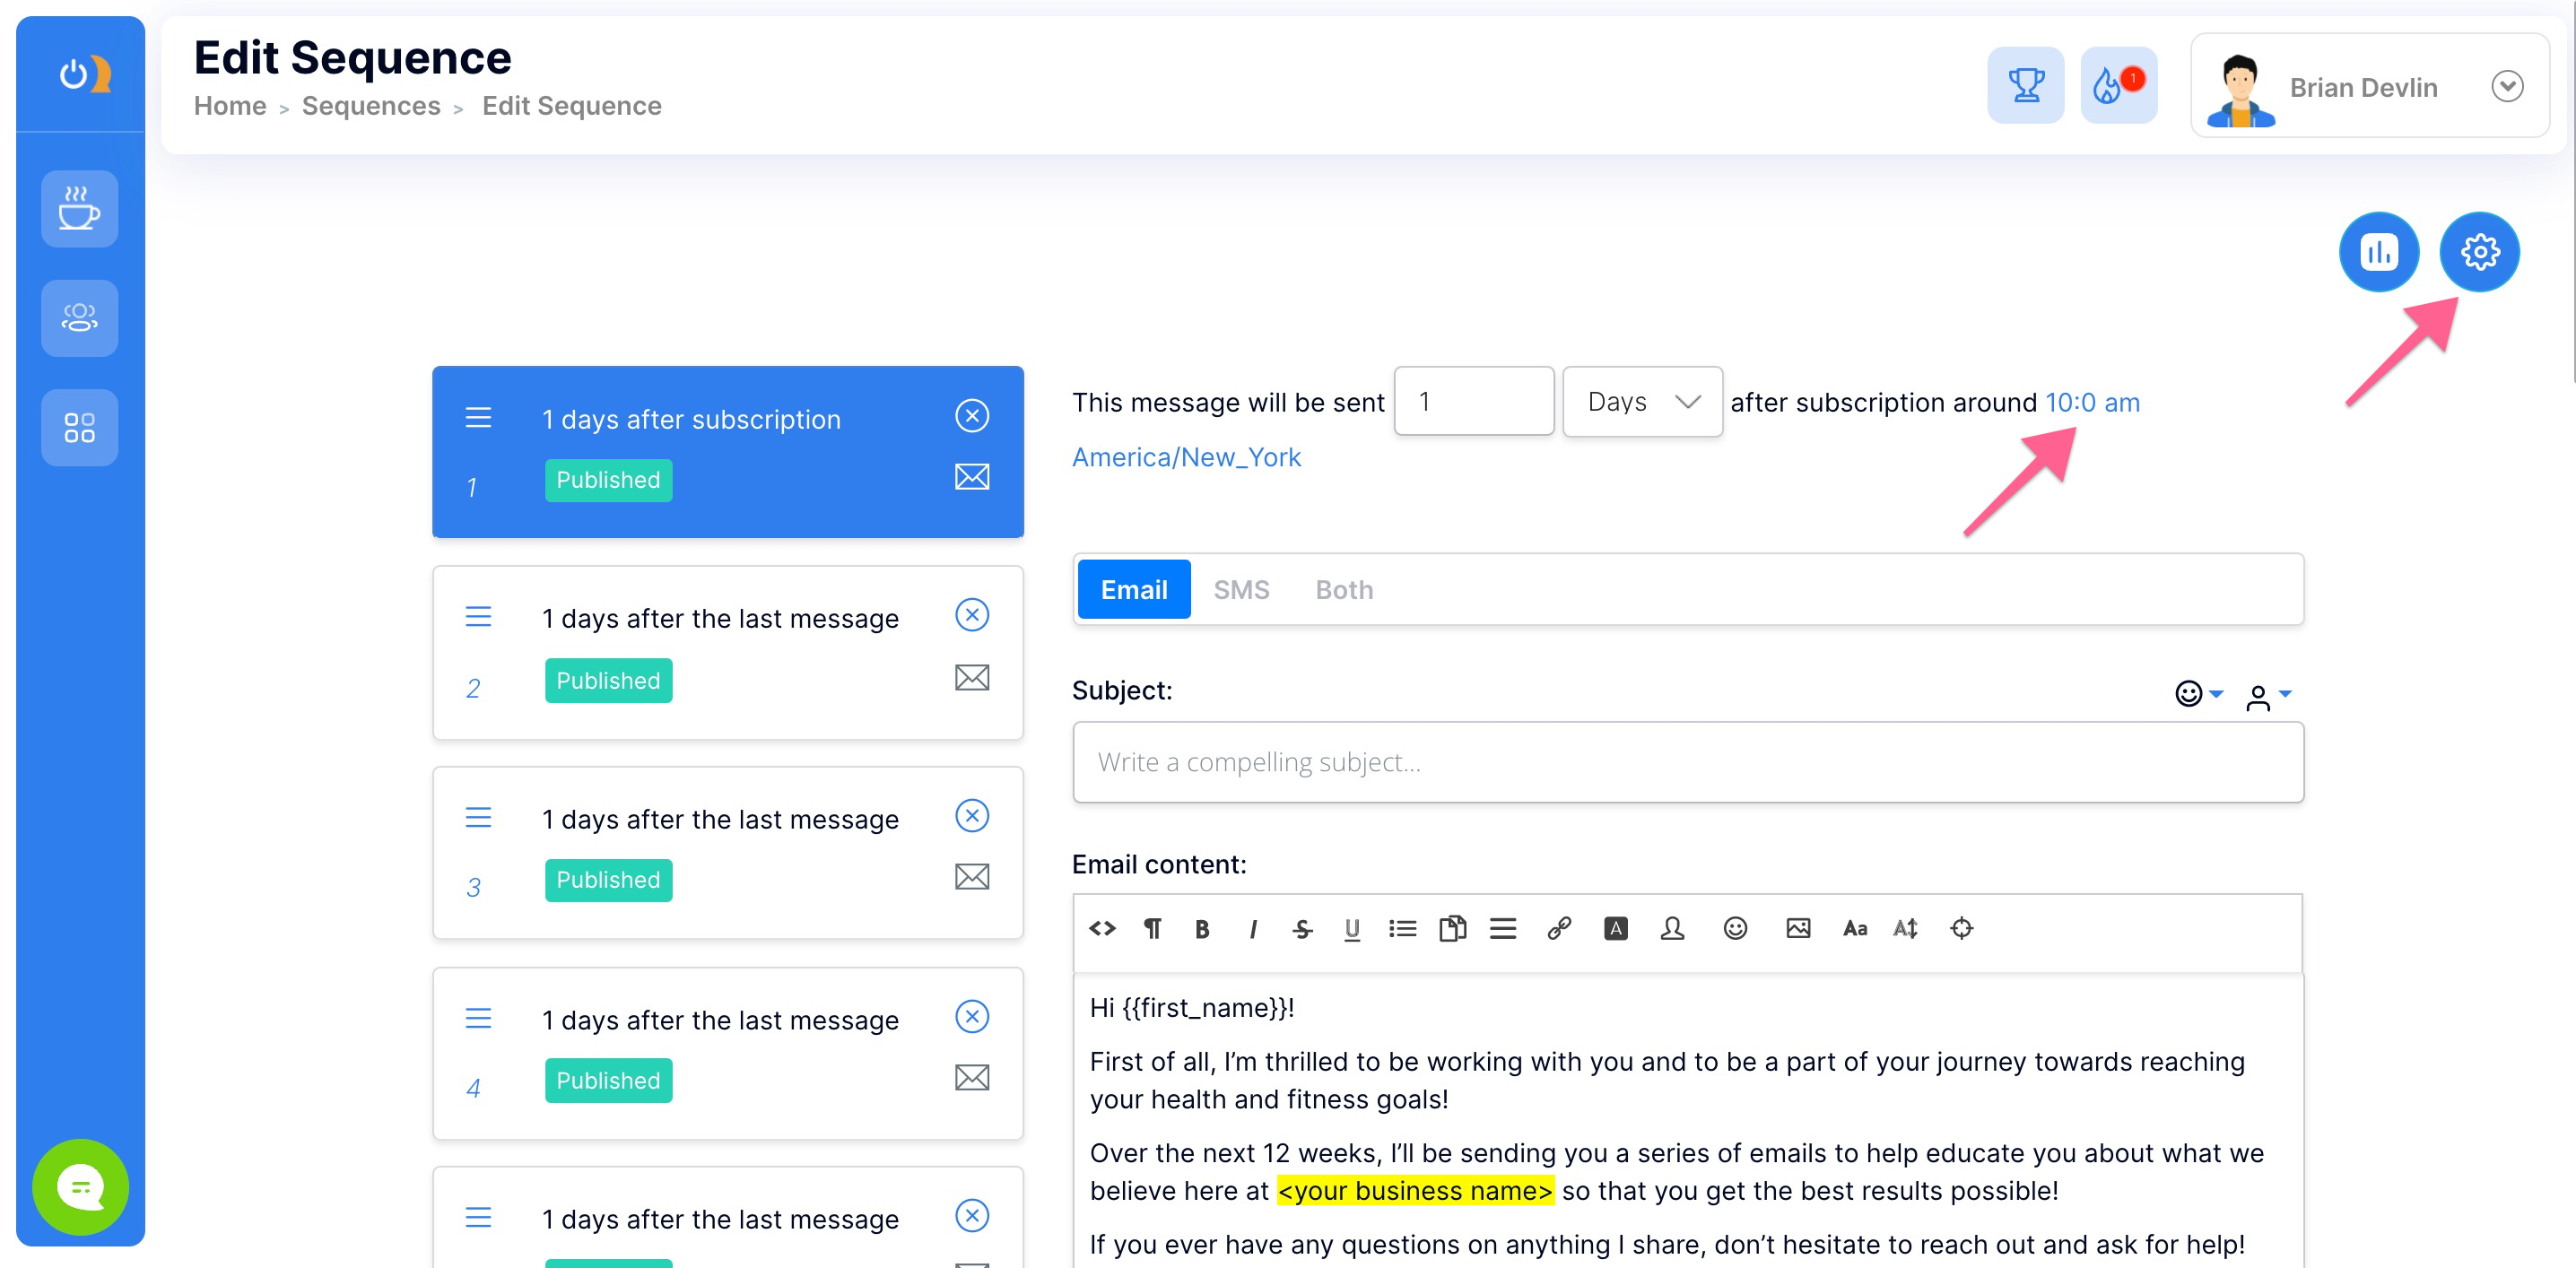
This is where you can edit the sequence name, the "from" name/email, template style, and the days of the week enabled for message delivery. Verify your time zone before clicking Save.
Adjusting Sequence Delivery Intervals:
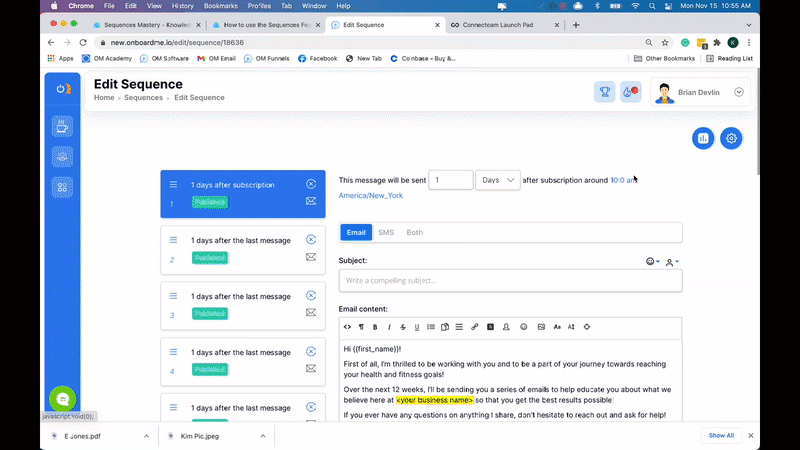
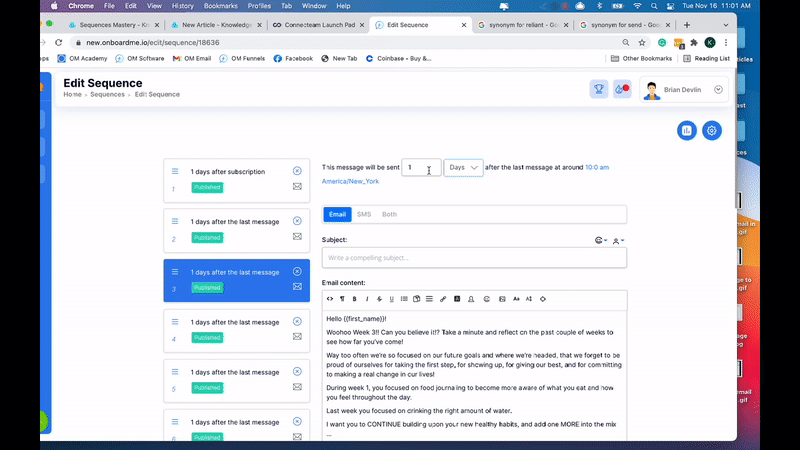
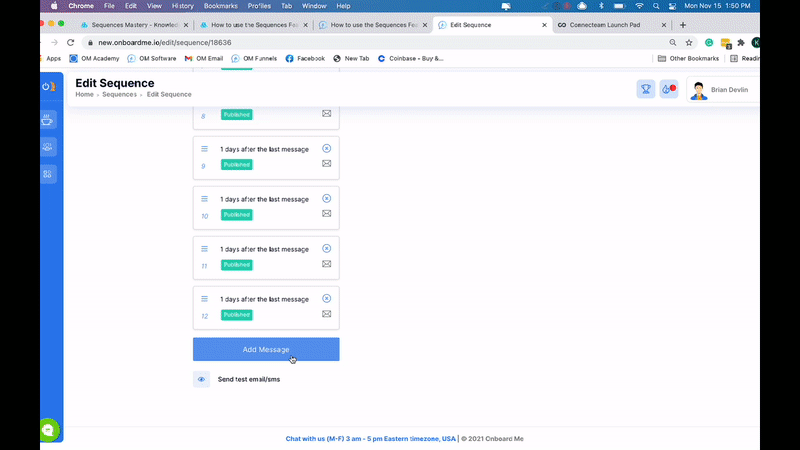
Message delivery can be customized by day, hour, or minute intervals using the fields at the top of your Edit Sequence screen. While customizing intervals can only occur within each message page, you can access your entire sequence at any time on the left side of the screen. Each message box of your sequence details interval time, order of delivery, status (published or draft), and format (email or text). The draggable hamburger icon allows you to quickly rearrange the order of messages in your sequence.
It is important to note: the first delivery interval is automatically set from the time of subscription. If you enter zero days/hours/minutes for this message, it will deploy immediately after completion, triggering the countdown until the following message deploys (based on your specified interval). The sending of each message is contingent upon the delivery of the previous message, so intervals should reflect this.
For example, do NOT set delivery times in ascending intervals from the original subscription date; message delivery will not be consistent and the potency of your sequence will fall off as messages become spaced too far apart.
In the example below, all intervals are set to one day (the initial email is set to send one day after subscription, the second email a day after the initial email, the third email a day after that, etc.).
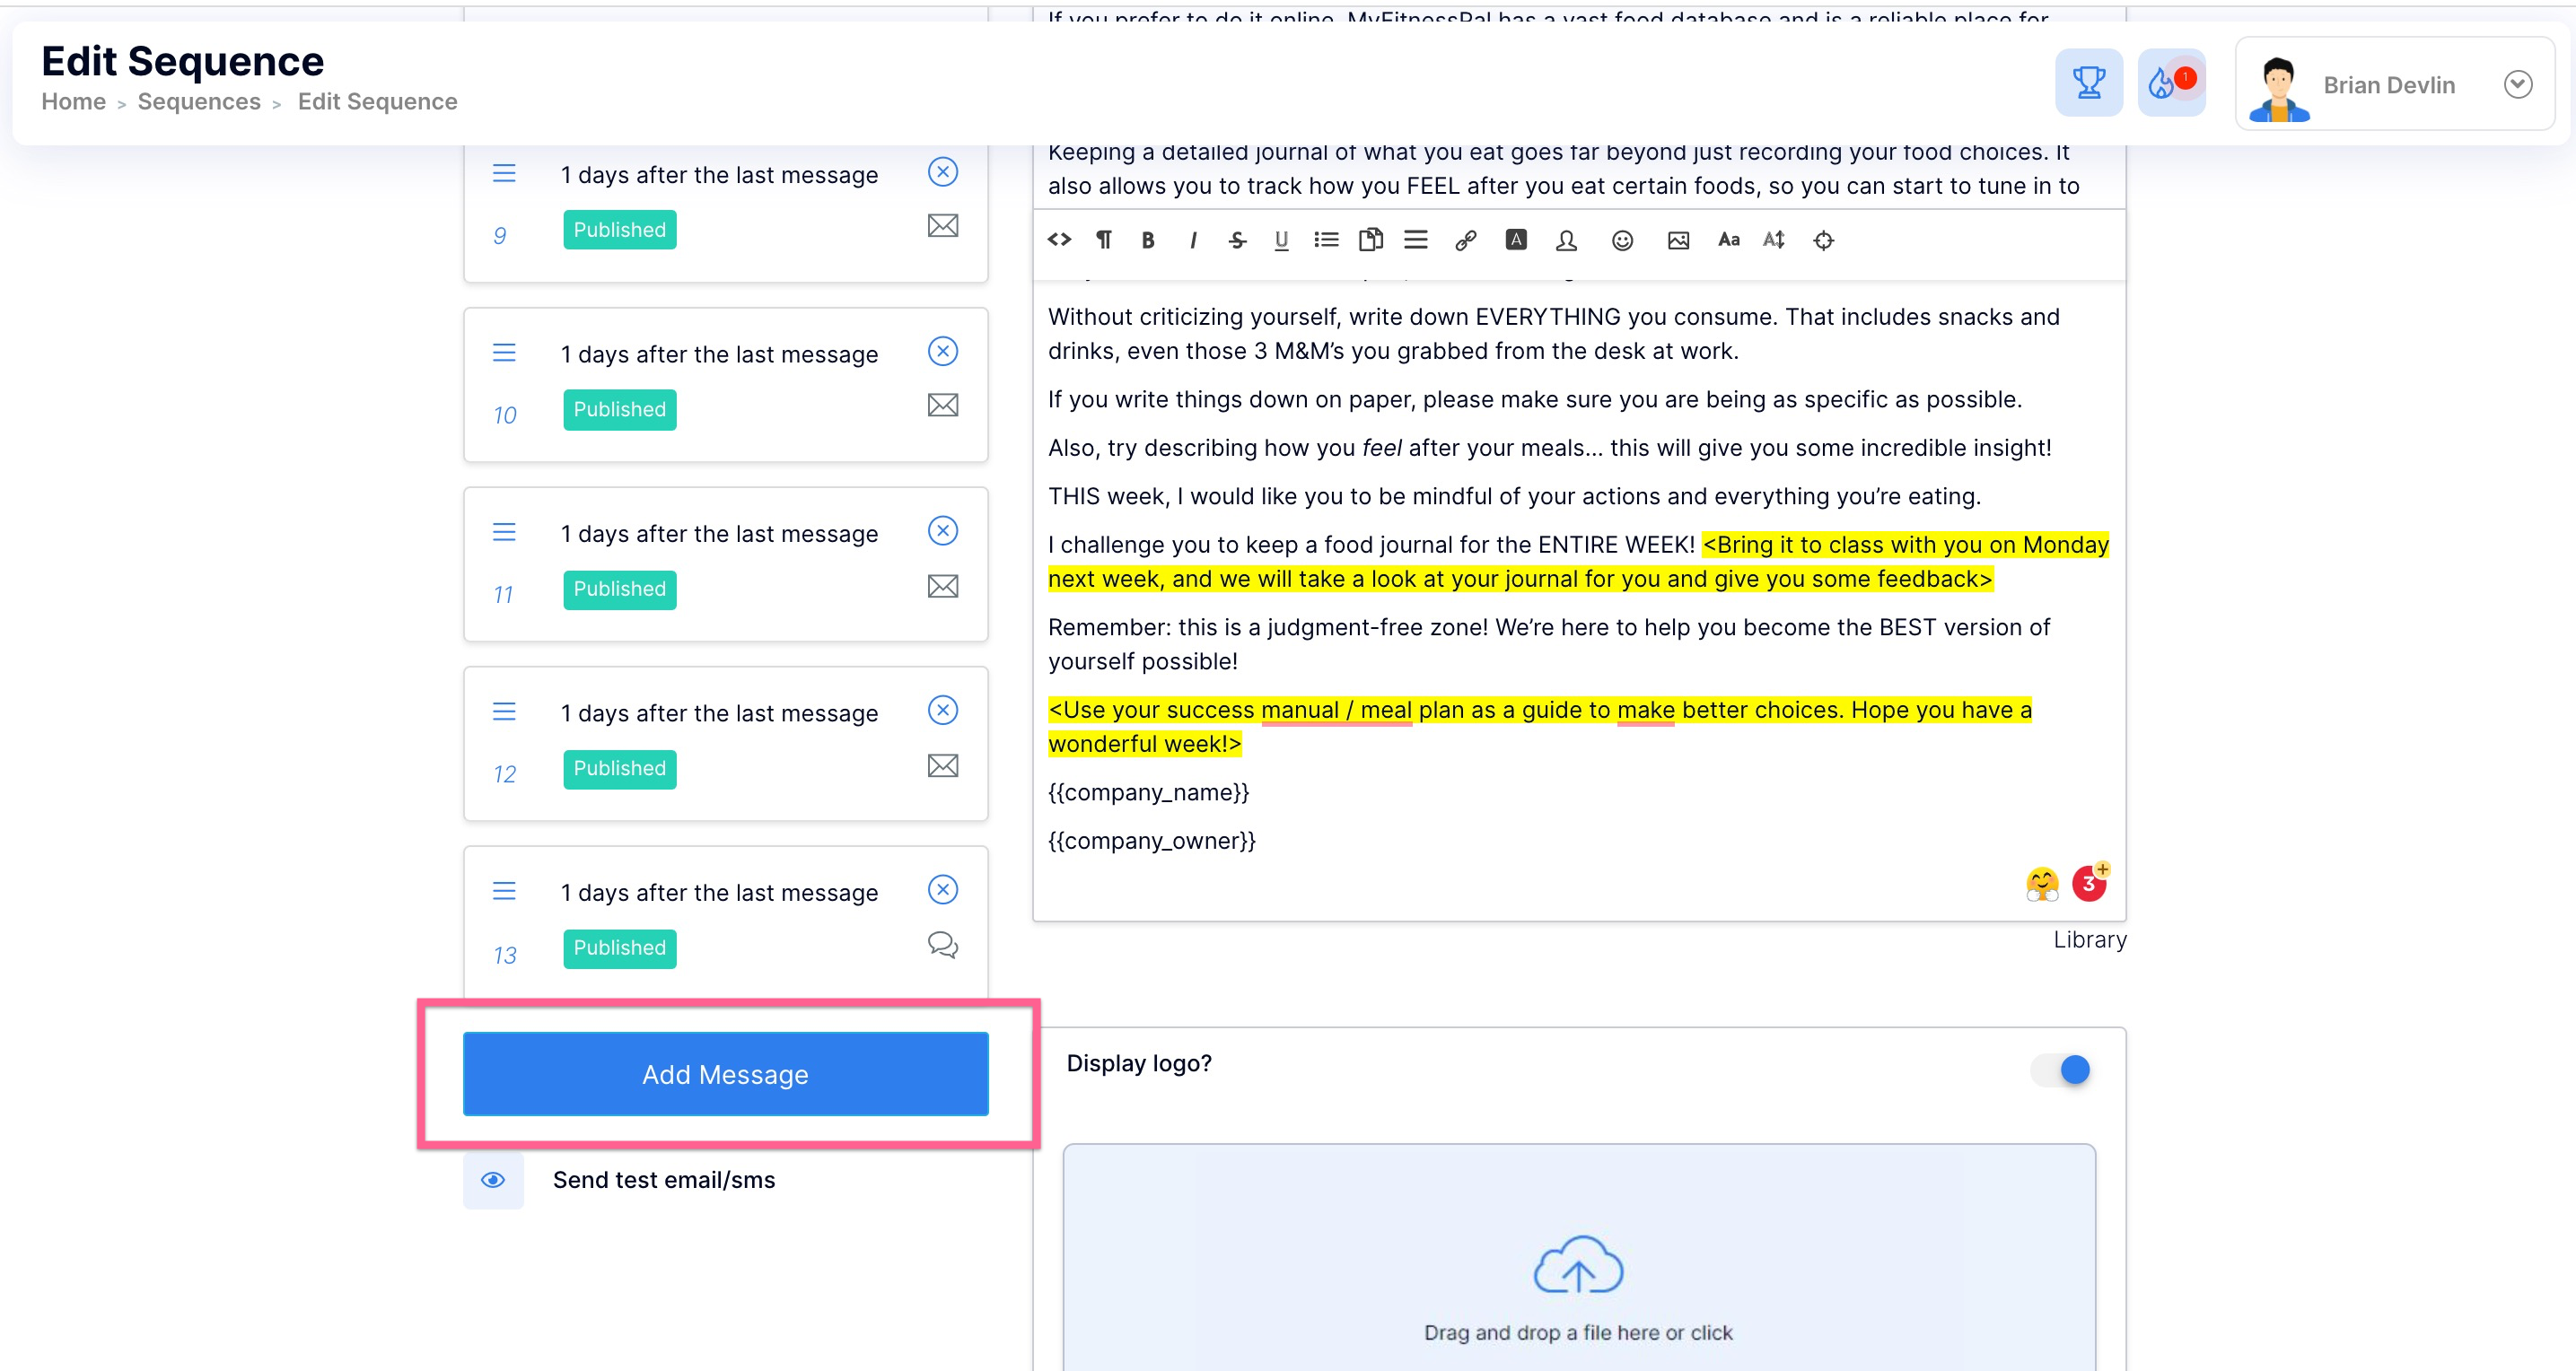
Adding Messages To Your Sequence:
Click the Add Message button at the bottom of your sequence.
Add/Use SMS Messages Within Your Sequence:
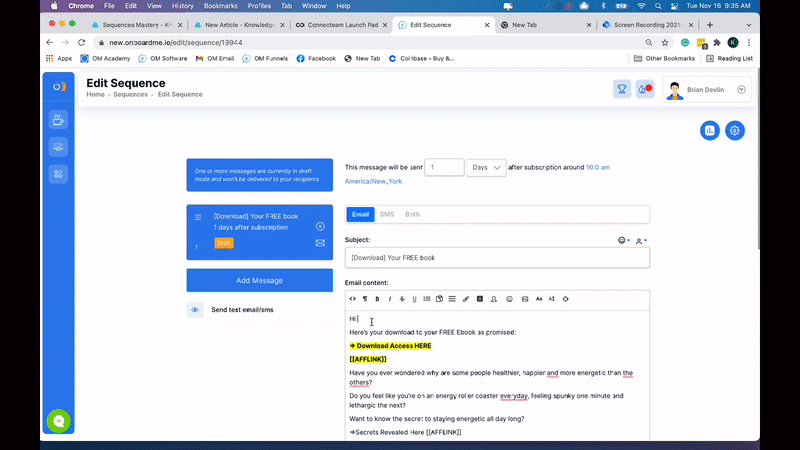
Decide whether your message will be an Email, SMS, or Both. If you are creating a text message, limit characters to 160 (this is tracked as you type). When you are happy with your message, set that Status toggle to Publish. Failing to do this step will mean that this particular message will NOT send, even if it is scheduled for delivery. Make sure all messages are Published within a sequence before launching the sequence.
Add/Use Email Message Within Your Sequence:
To edit the email sequence templates, begin by designating the delivery type as Email. Then, create the subject of your email. Options to use emojis or personalization are available, but if you select an existing template from your library (using the link under the email field), the subject will automatically upload.
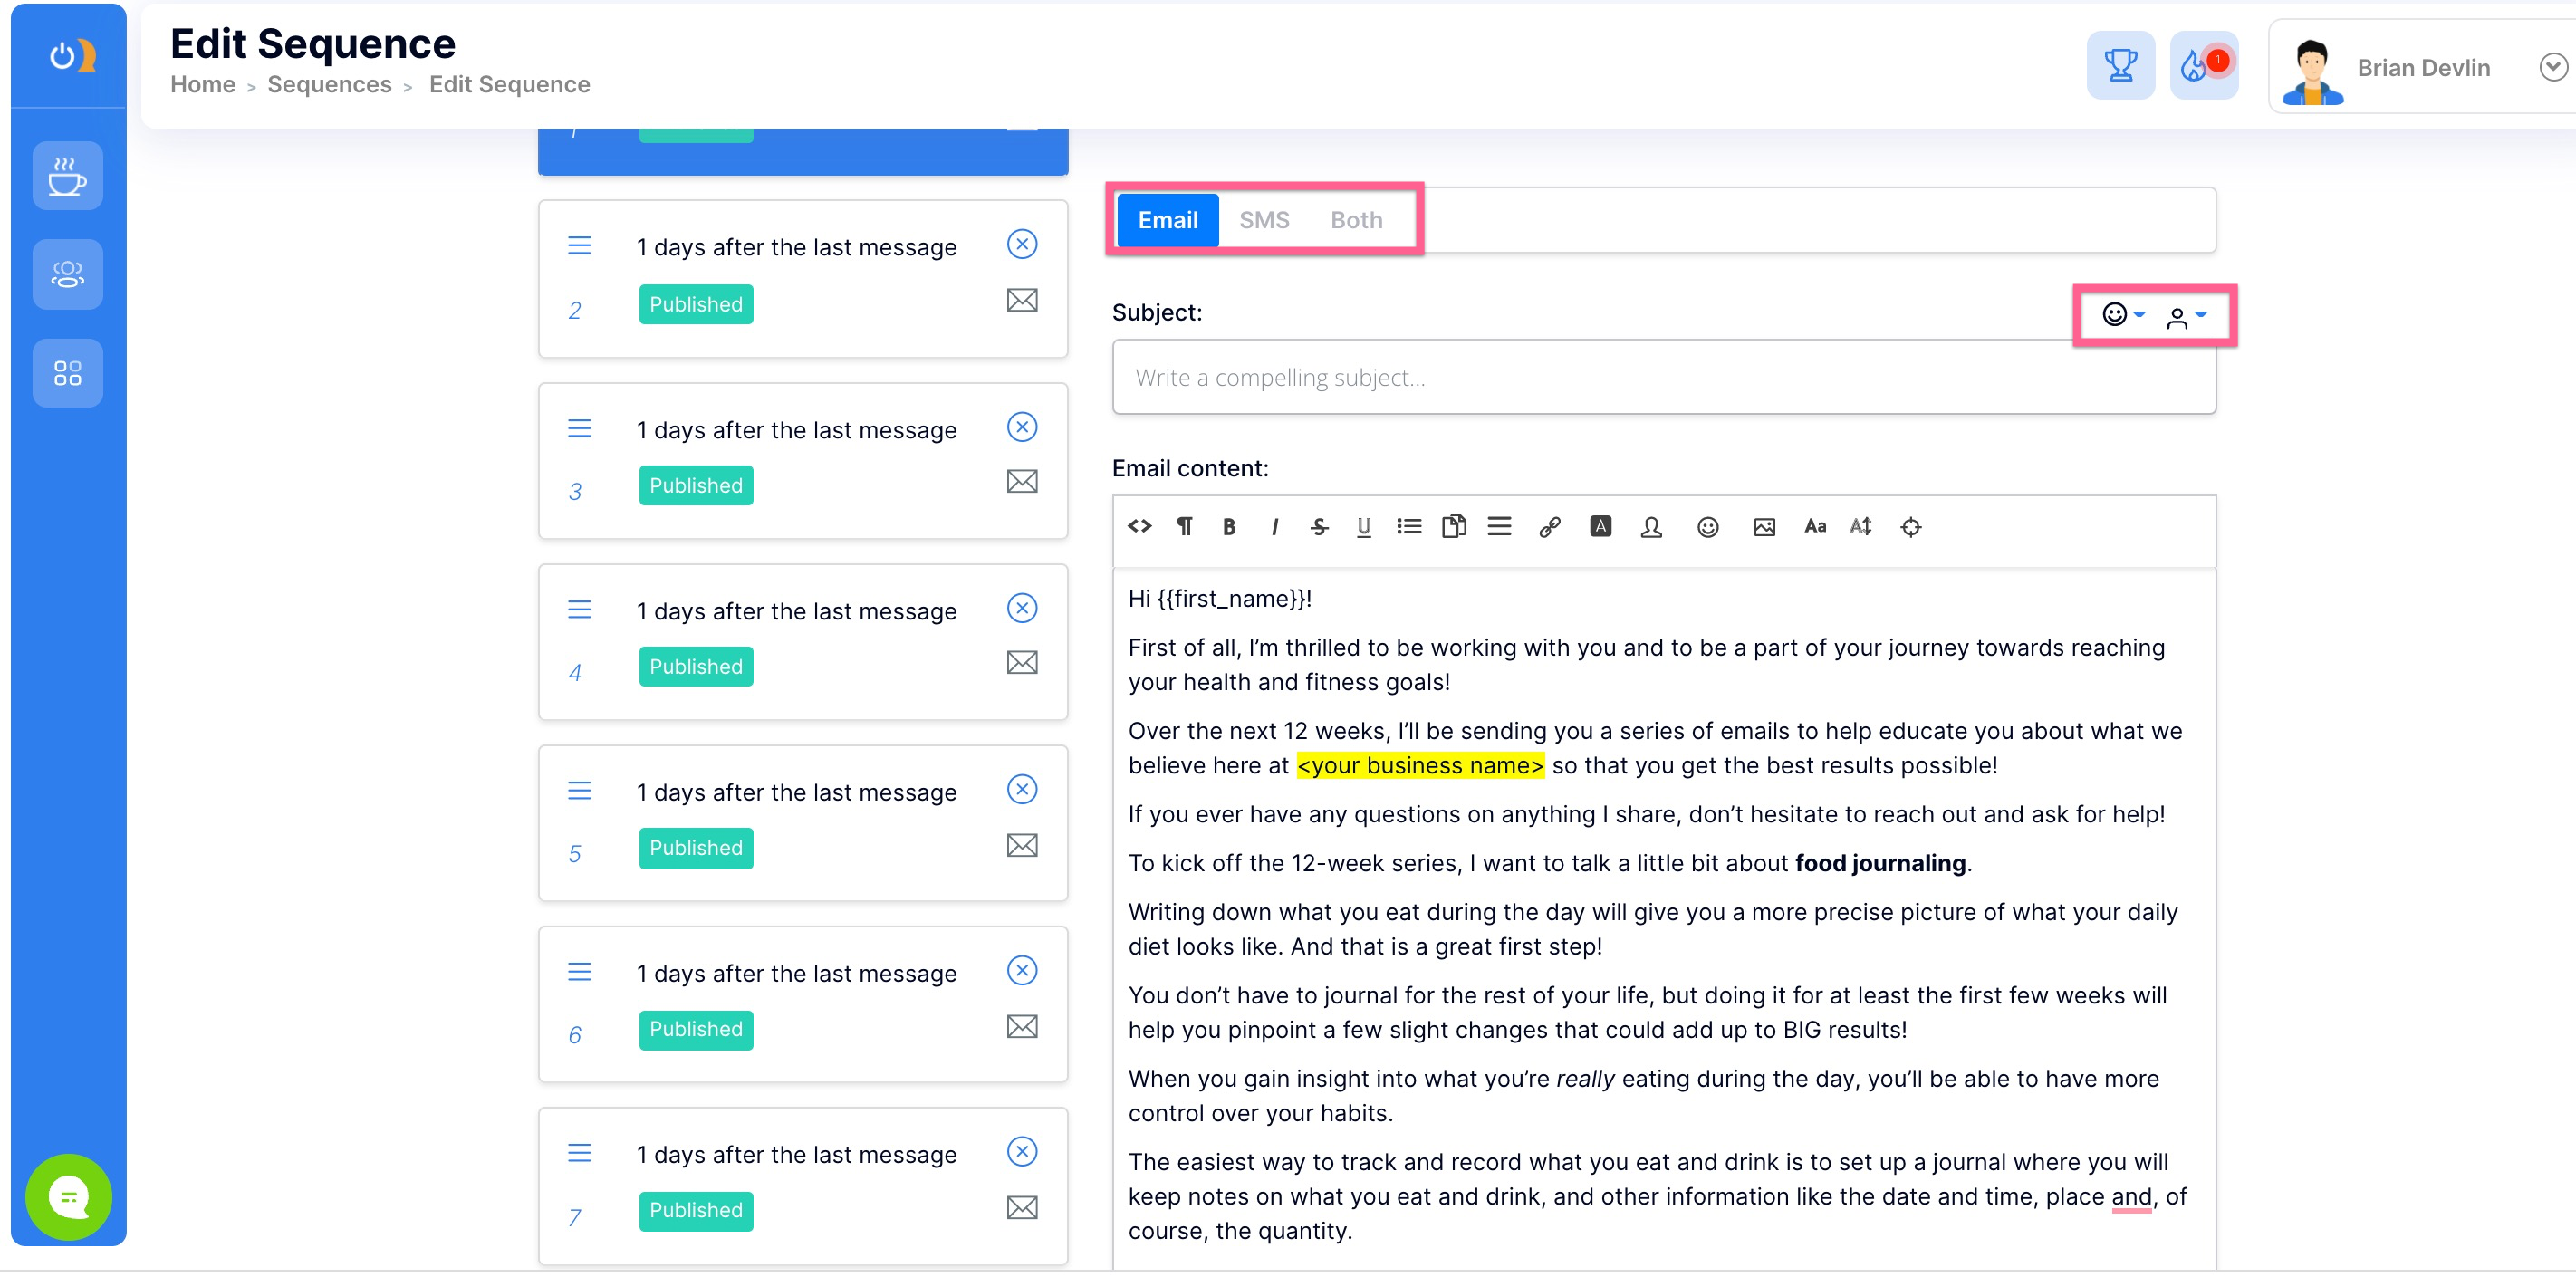
Customize Your Sequence Email Content
To create content, you can manually type into the text box or select an existing template. Templates can be accessed using the Library link or by going to Templates using the Quick Launch feature in your sidebar.
As you perfect your message, be sure to utilize some features in your toolbar. Hover over each icon to see the function of each tool. You can add pictures by searching your library or searching within Free Images. Personalization, emojis, and customization of font, color, formatting, etc. are available. As a general rule, we discourage adding files to your messages (paper icon), as it hinders the deliverability of messages; email service providers typically send file-heavy sequences directly to spam.
Starting A Sequence From Your Bulk Actions Menu
Navigate to your contact center and from your contact center select the contact(s) you would like to send your sequence to and use the select boxes to choose your recipients. Then navigate to bulk action > sequences > Start Sequence.
From here you will select your desired sequence and determine which message in the sequence you would like to start first. Most users start from the first message so this is the default setting.
Step 1:
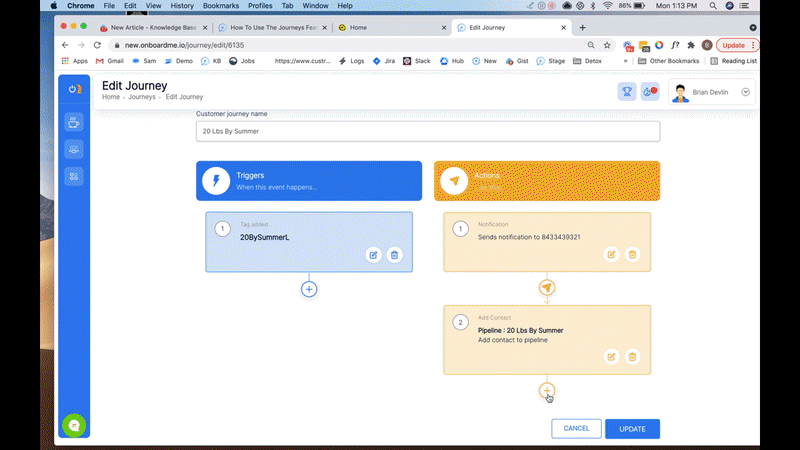
Starting A Sequence Via Journey
Using the journeys feature you can add start or stop sequence as a journey action. You can add conditions and delays as well.
From the Journeys feature once you choose your journey trigger(s) navigate to the actions menu select start or stop sequence as one of your action steps. It's that easy.
Commonly Asked Questions
1. How can I have a client start at a specific message?
1. On your contact dashboard, mark the checkbox of your selected client.
2. Go to Bulk Action>Sequence>Start a Sequence
3. After selecting a sequence to assign, turn the "Start at Message 1" toggle off, then choose a specific message they'd start at.
2. How can I resend a missed or failed email?
1. On your Contacts Dashboard, go to click on the name of the contact you wish to resend the email. You will be redirected to that contact's Profile.
2. Go to the Email Sent tab.
3. Click the three dots on the right side of the failed email.
4. Hit Resend, or Edit and Resend.